
Administrators can create and manage users directly inside Yarken when user onboarding is handled manually instead of through Microsoft Entra ID app role assignments.
Use this approach when your organization wants administrators to explicitly add approved users to Yarken before they can access the platform.
This includes:
-
Adding new users
-
Assigning Yarken roles
-
Setting a default dashboard
-
Activating or deactivating accounts
-
Managing access for invite-only onboarding workflows
Yarken uses Microsoft authentication for login security. User passwords are not stored or managed within Yarken.
When to use direct user management
Use direct user management when:
-
Your organization wants a controlled, invite-only onboarding process.
-
Users should be manually created by a Yarken administrator.
-
Roles should be assigned directly inside Yarken.
-
Microsoft Entra ID app role assignment is not being used for Yarken access management.
Do not use this method if your organization manages Yarken users and roles through Microsoft Entra ID. In that case, use the Microsoft Entra ID onboarding process instead.
Prerequisites for direct user management
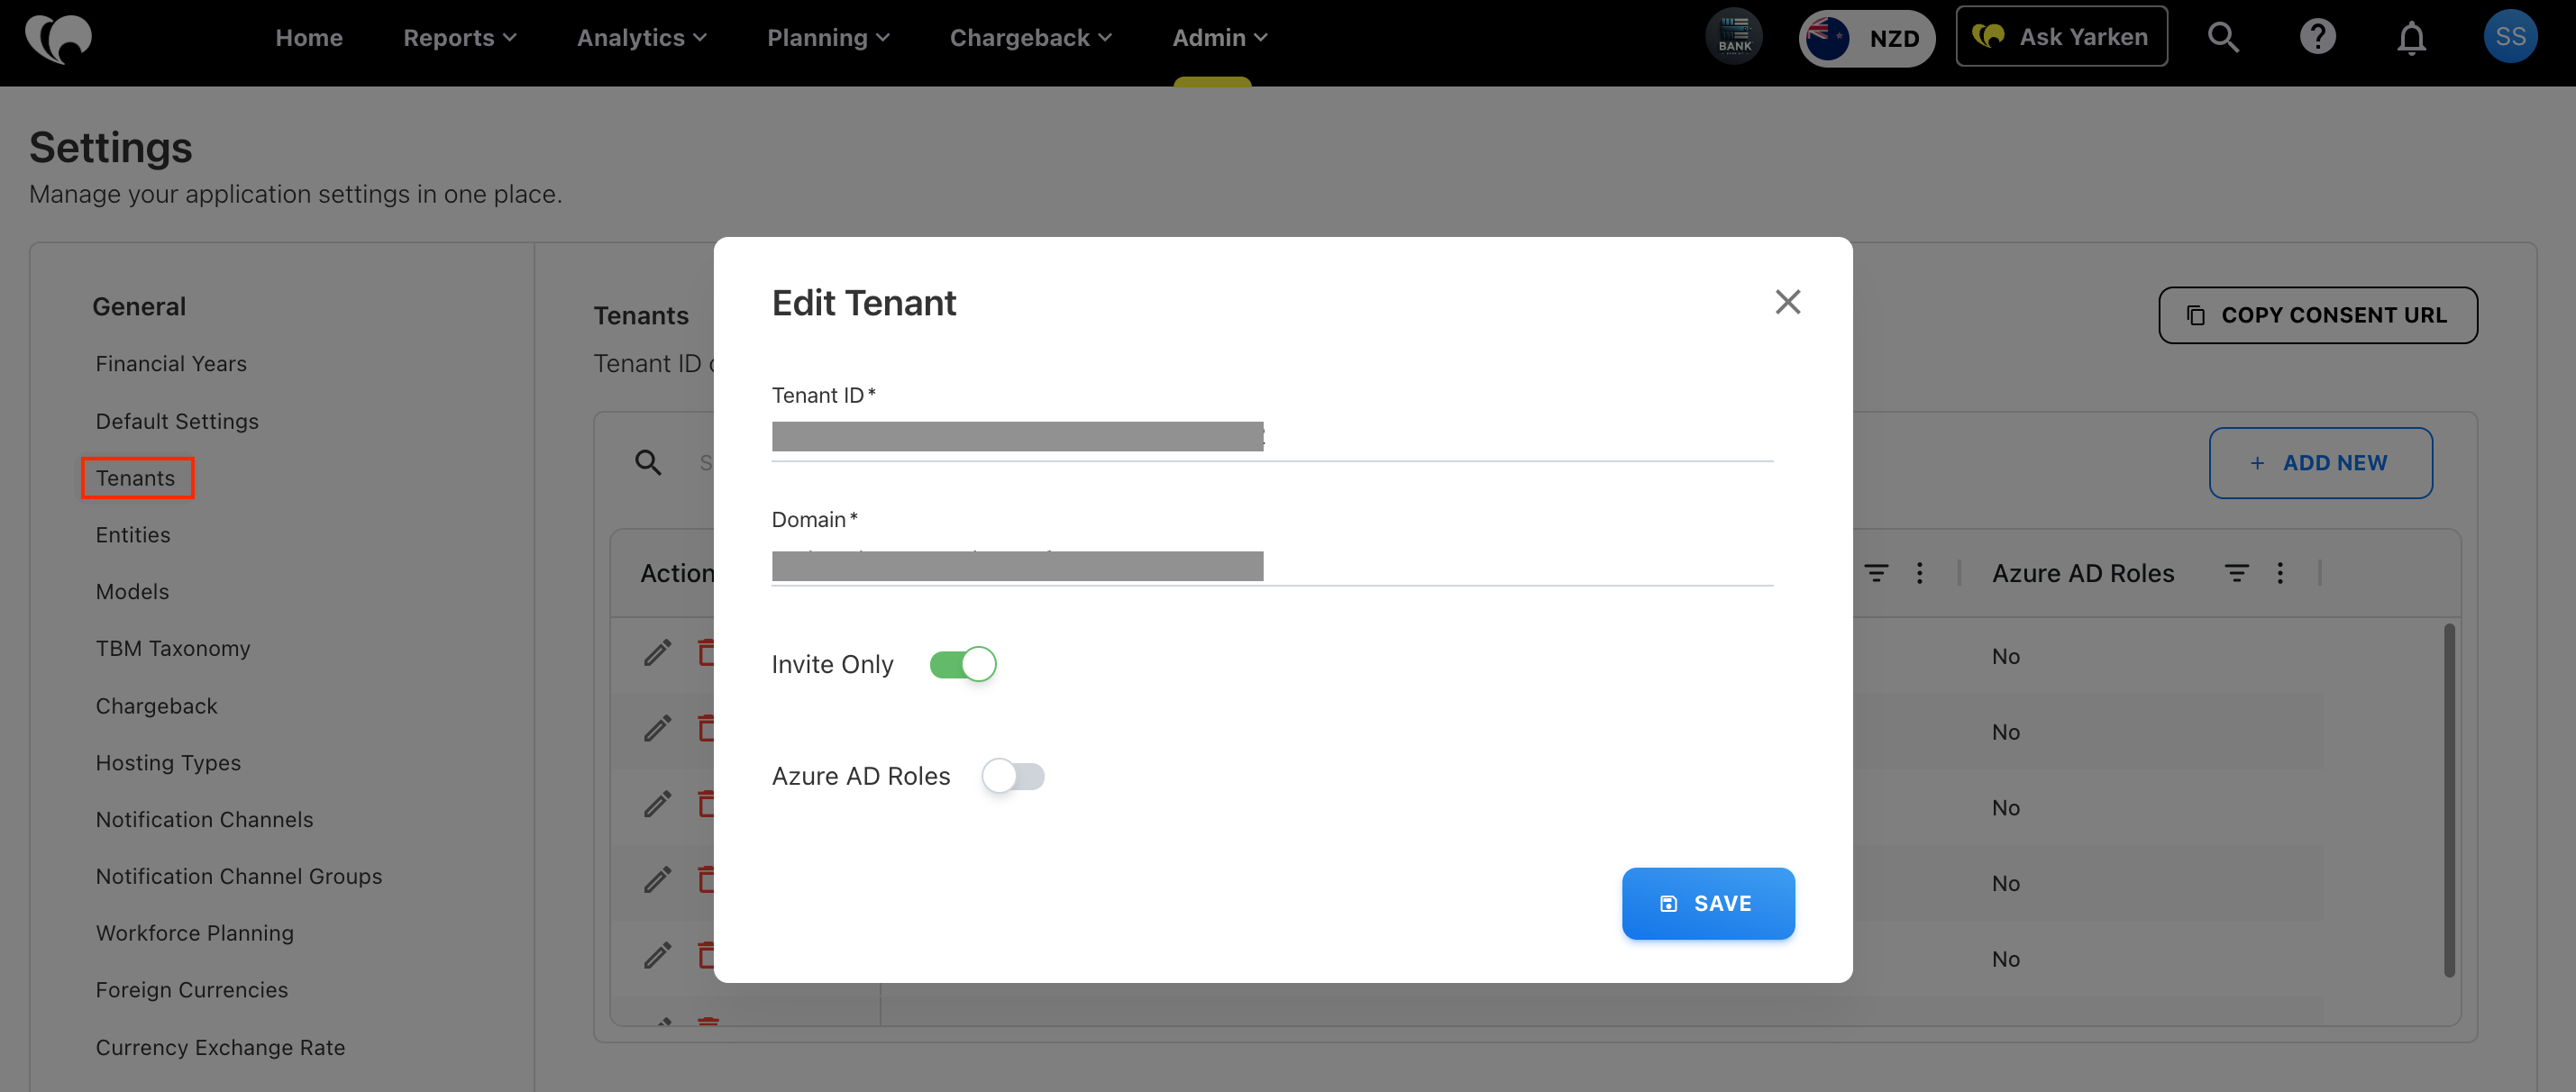
Before adding users directly in Yarken, verify that the tenant is configured for manual user management.
|
Tenant setting |
Required value |
|---|---|
|
Azure AD Roles |
Disabled |
|
Invite Only |
Enabled |
The above tenant setting is accessible from Admin > Settings > Tenants:
You will also need:
-
Yarken Admin access
-
User name and email address
Add a new user
To create a new user:
-
Sign in to Yarken as an Administrator
-
Navigate to Admin → User Management → Users.
-
Select + ADD NEW.
-
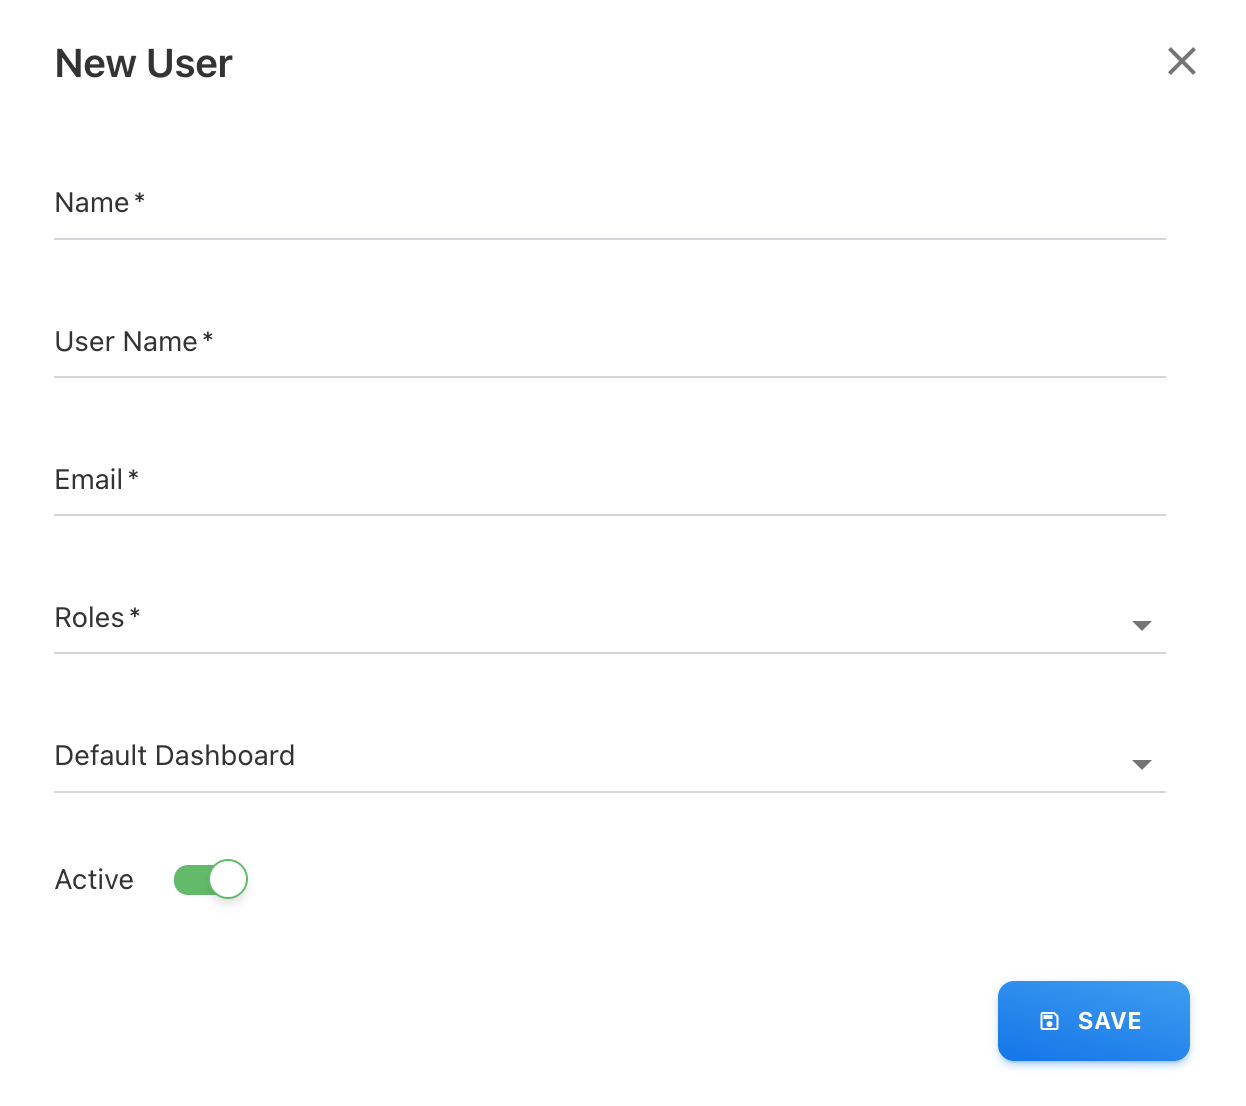
On the New User page, enter the required user details:
-
Name: Enter the user’s full name.
-
User Name: Enter the user’s email address. This is used as the user name for Yarken.
-
Email: Enter the user’s unique email address. This should match the Microsoft account the user will use to sign in.
-
Roles: Select one or more Yarken roles for the user. Roles determine what the user can access after signing in.
-
Default Dashboard: Set the default dashboard for the home page. You may assign a custom or existing standard dashboard as a default dashboard.
-
-
Click SAVE.
After saving:
-
The user is added to the Users list in Yarken.
-
The user can authenticate through Microsoft login.
-
The user receives access based on the assigned Yarken role or roles.
-
The administrator can later edit, deactivate, or update the user’s access from the Users page.
Edit an existing user
To update an existing user:
-
Sign in to Yarken as an administrator.
-
Navigate to Admin → User Management → Users.
-
Locate the user in the Users list.
-
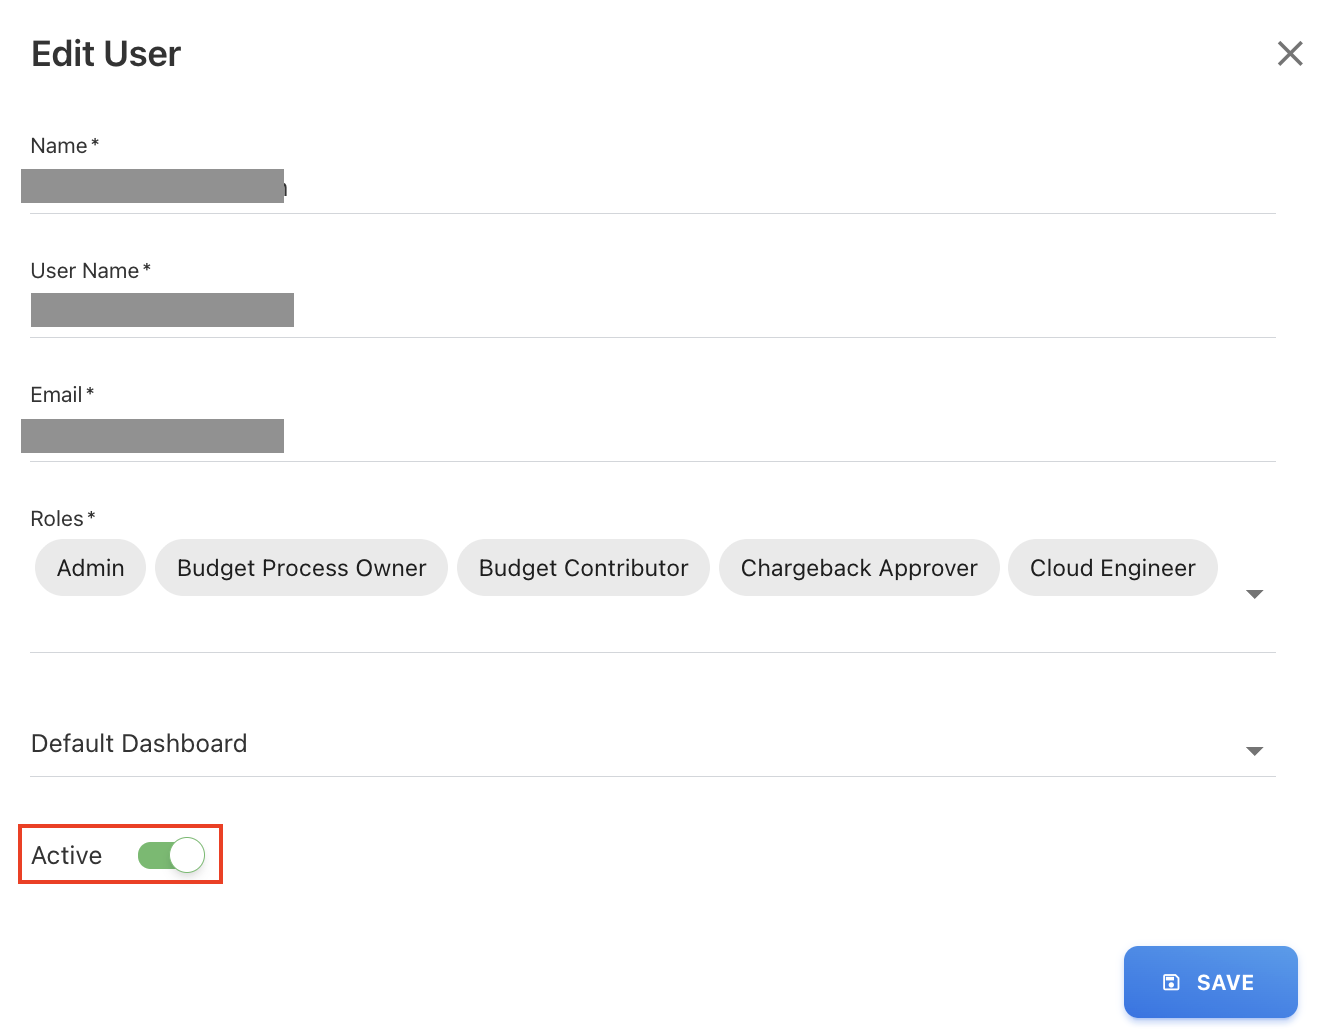
Open the user record.
-
Update the required details, such as role assignment, default dashboard, or account status.
-
Select SAVE.
Changes to roles or dashboard access apply based on the updated user configuration.
Delete a user
Use this option only if the user has not contributed to any data or reports.
Procedure
-
Locate the user you want to remove.
-
Click the Delete icon in the Actions column.
-
Confirm the deletion when prompted.
The Yarken application prevents deletion of users who have contributed to data or reports.
For such users, we recommend disabling the account by setting Active = No instead of deleting it.
Deactivate a user
Deactivating a user prevents them from signing in while preserving their historical contributions, data ownership, and audit records. This is the recommended approach for users who no longer require access but have previously contributed to the system.
Procedure
-
Sign in to the application as an Admin.
-
Navigate to Admin → User Management → Users.
-
Locate the user you want to deactivate.
-
Click the Edit icon in the Actions column.
-
In the Edit User screen, locate the Active toggle.
-
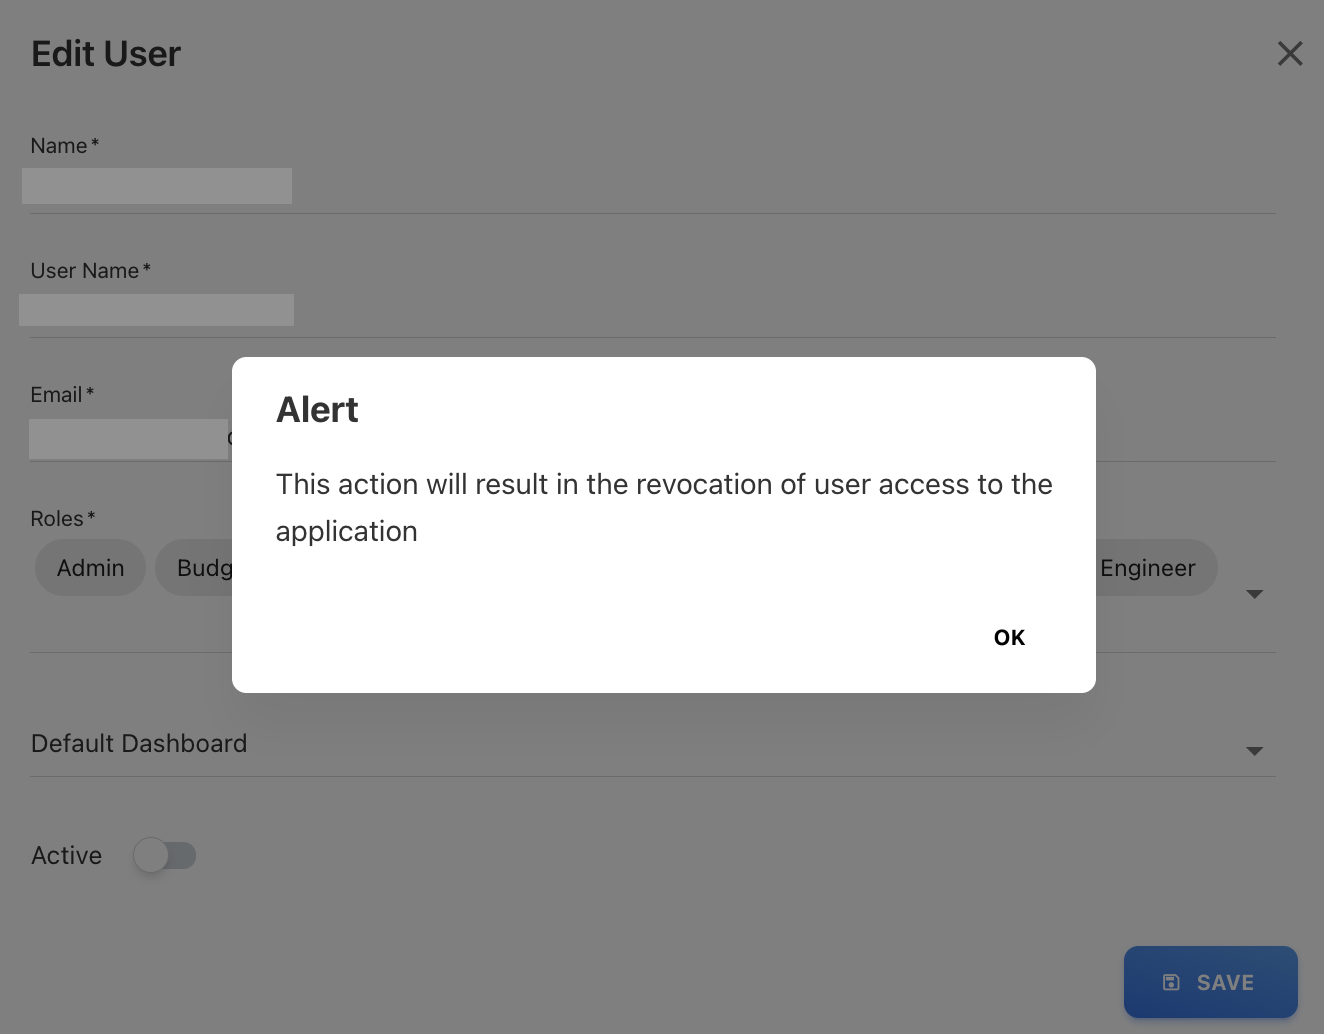
Set Active = No.
-
-
Click OK on confirmation popup.
-
Click SAVE.
The user is deactivated and can no longer sign in.
After deactivating:
-
All historical contributions remain intact.
-
The user account can be reactivated later by setting Active = Yes.
Related content