
Master data represents the core reference entities in the Yarken application. This data forms the foundation for spend calculations, allocations, and reporting across business categories.
You can load master data either by manually creating records or by uploading files using predefined templates.
What is included in Master Data
The following datasets are considered Master Data in Yarken:
-
Accounts
-
Cost Centers
-
Vendors
-
Solution Offerings
-
Consumers (formally Business Units)
These datasets are persistent and are referenced across multiple model periods.
Before you begin
To simplify file uploads and ensure correct field mapping, Yarken provides data templates under:
Admin > Data Dictionary
Search for the required file (for example, Accounts). Each template includes predefined columns that align with application fields. You can download the template, populate it with your data, and upload it directly.
Supported file formats:
-
.xlsx
-
.csv
Accessing master data upload
-
From the menu bar, select Admin → Yarken Designer.
-
In the left pane, expand Master Data under the UPLOAD section.
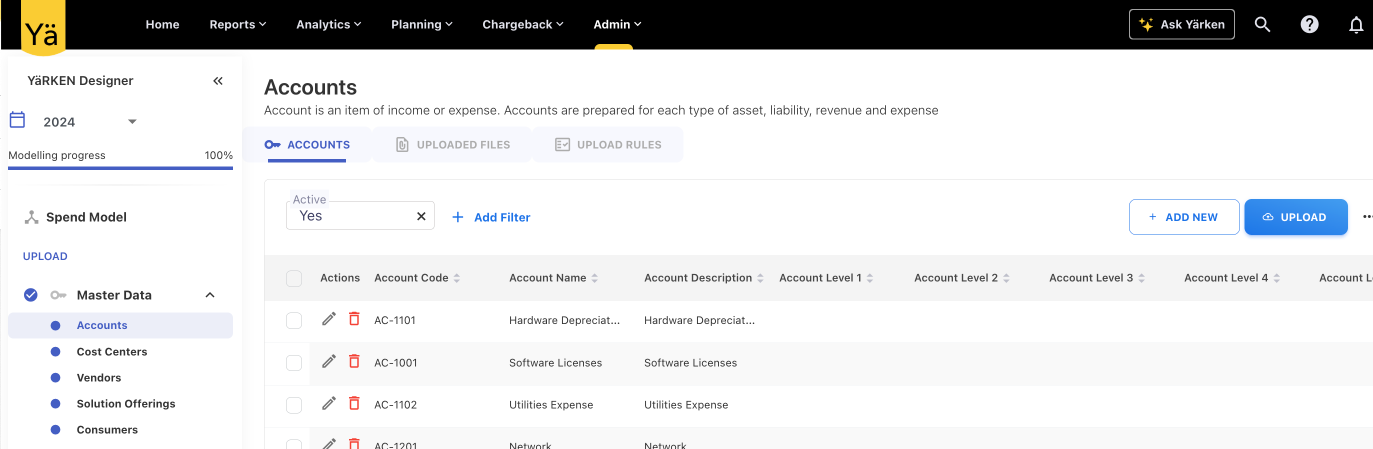
-
Select the dataset you want to load (for example, Accounts or Cost Centers).
Option 1: Add master data manually
Use this option when you need to create or update a small number of records.
Procedure
-
Select the required master data dataset.
-
Click + ADD NEW.
-
Enter the required field values.
-
(Optional) Review the Active field:
-
Enabled by default
-
Disable it if the record should not be used immediately
-
-
Click SAVE.
After saving
-
You can view, edit, or delete master data records.
-
By default, only active records are displayed.
-
You can filter to view inactive records if needed.
Option 2: Upload master data using a file
Use this option when loading or updating a large volume of records.
Procedure
-
Select the required master data dataset.
-
Click UPLOAD.
-
In the upload dialog, browse or drag and drop the file.
-
Review the uploaded data and select NEXT.
If your file matches the template headers, required fields are auto-mapped.
-
Choose one of the following:
-
FINISH to complete the upload, or
-
Edit mapping to review or map additional fields
-
-
Complete the upload.
After uploading the file, you can check the file status, loaded records, mapped fields, and other details under the UPLOADED FILES tab.
-
Uploaded master data files cannot be deleted.
These files are retained as part of the system audit log. -
Individual master data records can be deleted, subject to referential integrity checks.
-
If a record is referenced elsewhere in the system, deletion may be restricted to preserve data consistency.