
This section explains how to create, update, and delete Upload Rules to control how data is processed during file uploads.
Create an Upload Rule
Before creating a rule, it is important to understand:
-
Upload Rules are applied only during file upload
-
They are not dependent on month or year and apply to all future uploads
-
You can control rule execution using filters
Procedure
To create the upload rules:
-
Navigate to the section where you want to create the upload rules.
-
Click the UPLOAD RULES tab.
-
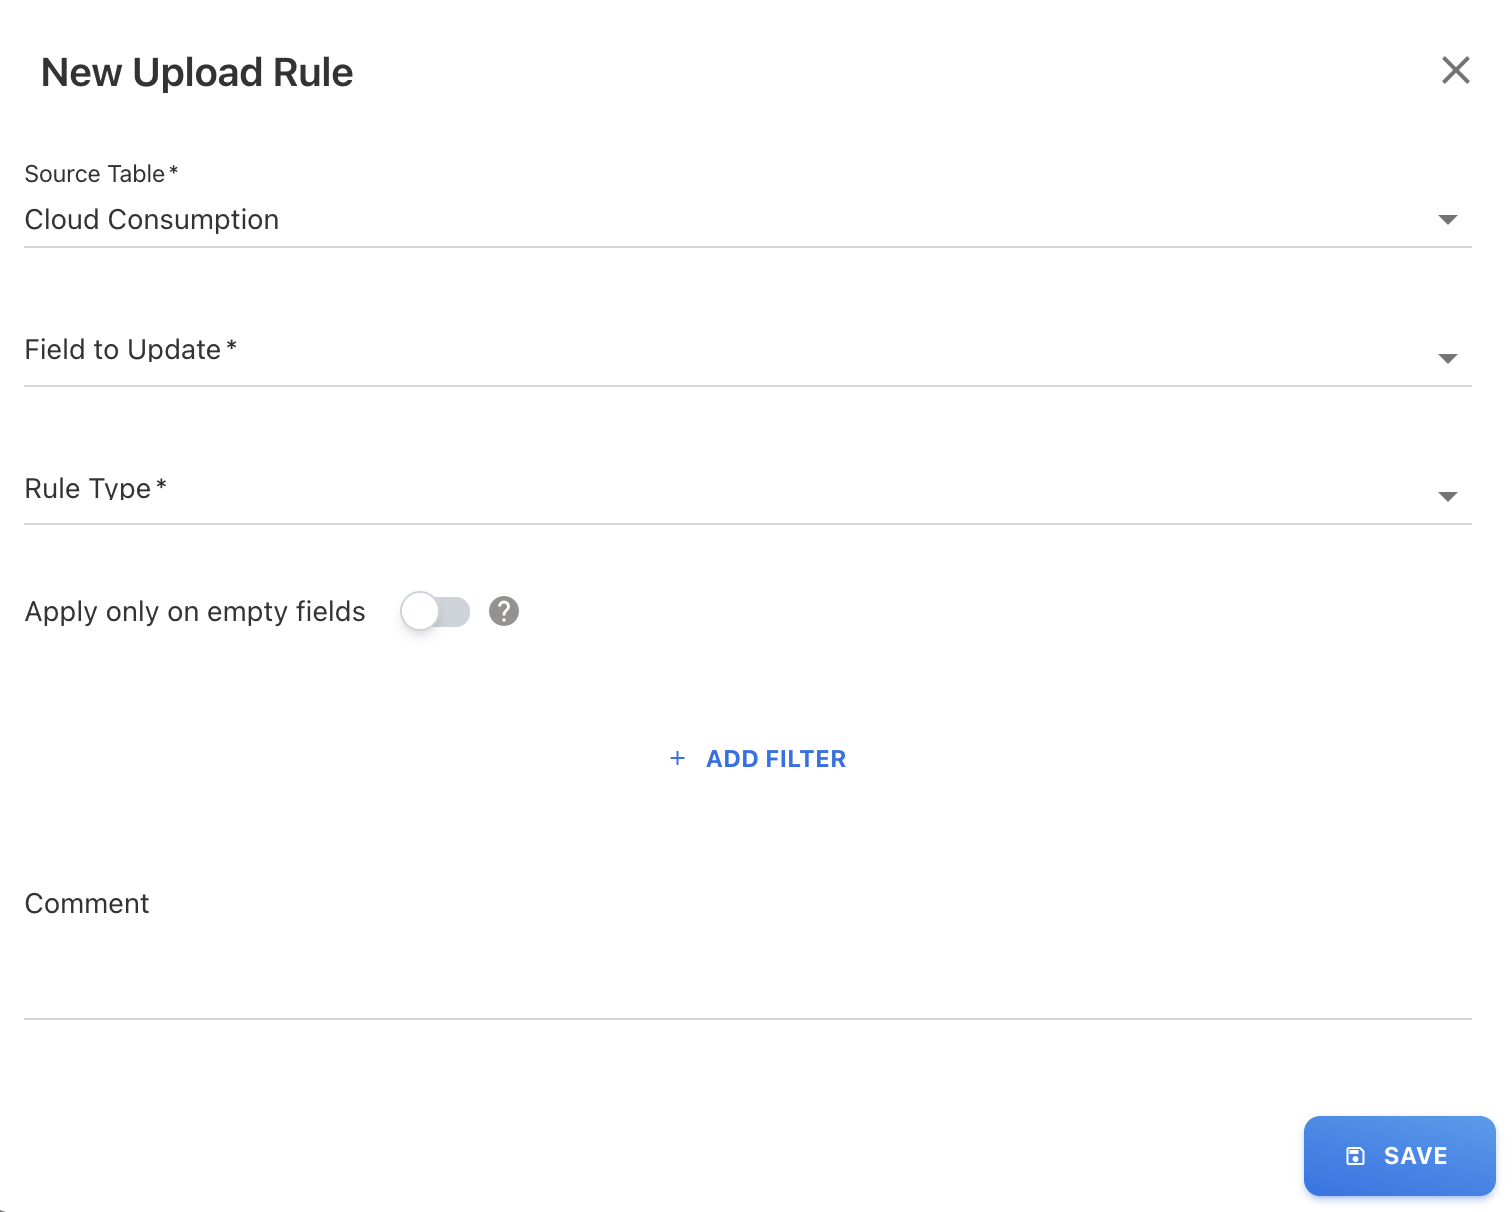
Click + ADD NEW. A New Upload Rule screen appears.
-
On the New Upload Rule screen, select the value from below required fields:
-
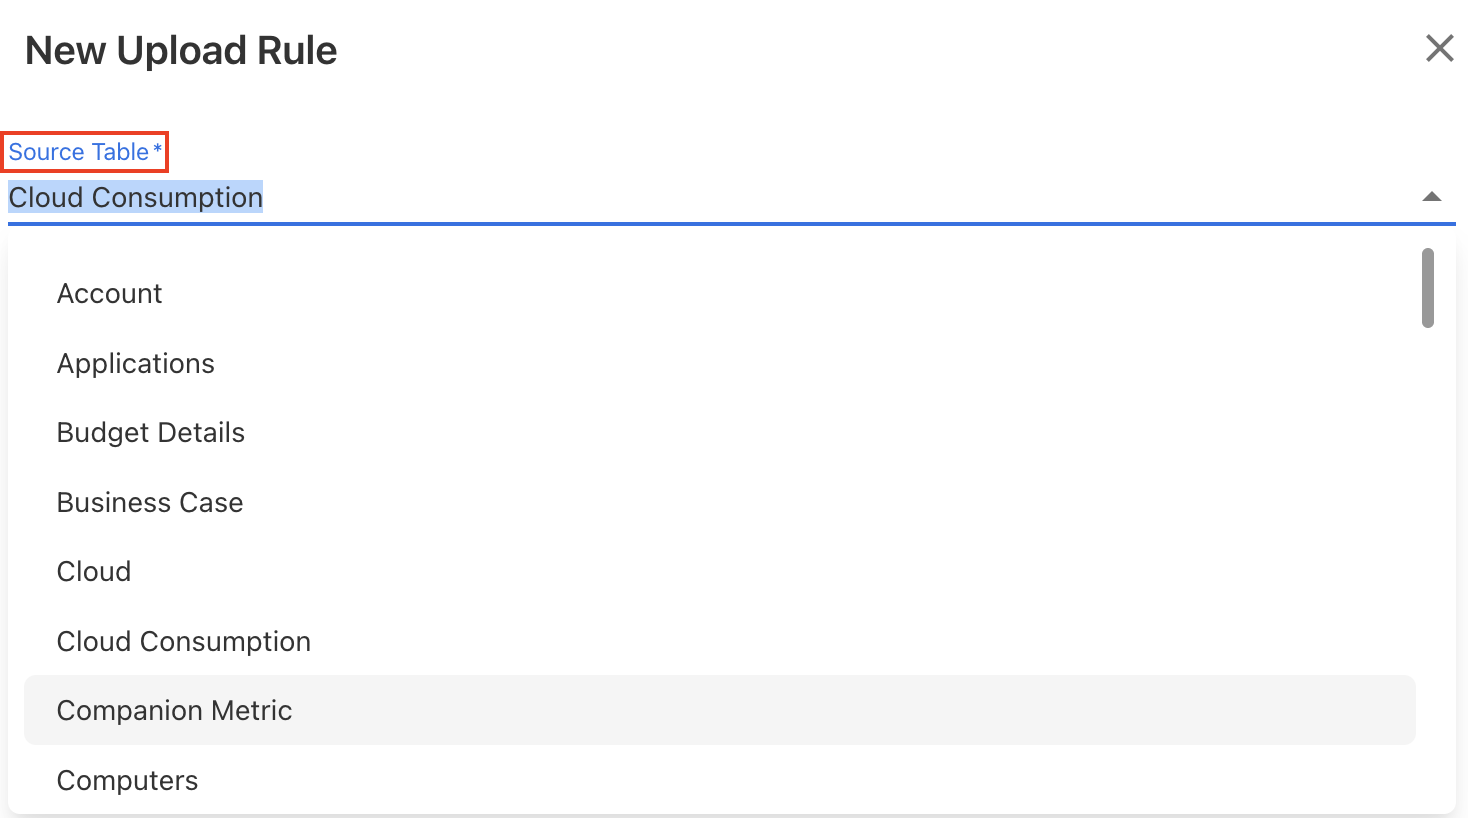
Source Table: Choose the name of the data table from the application where the data will be uploaded according to specified rules. For example, Account, Actual Spend, or any other table.
-
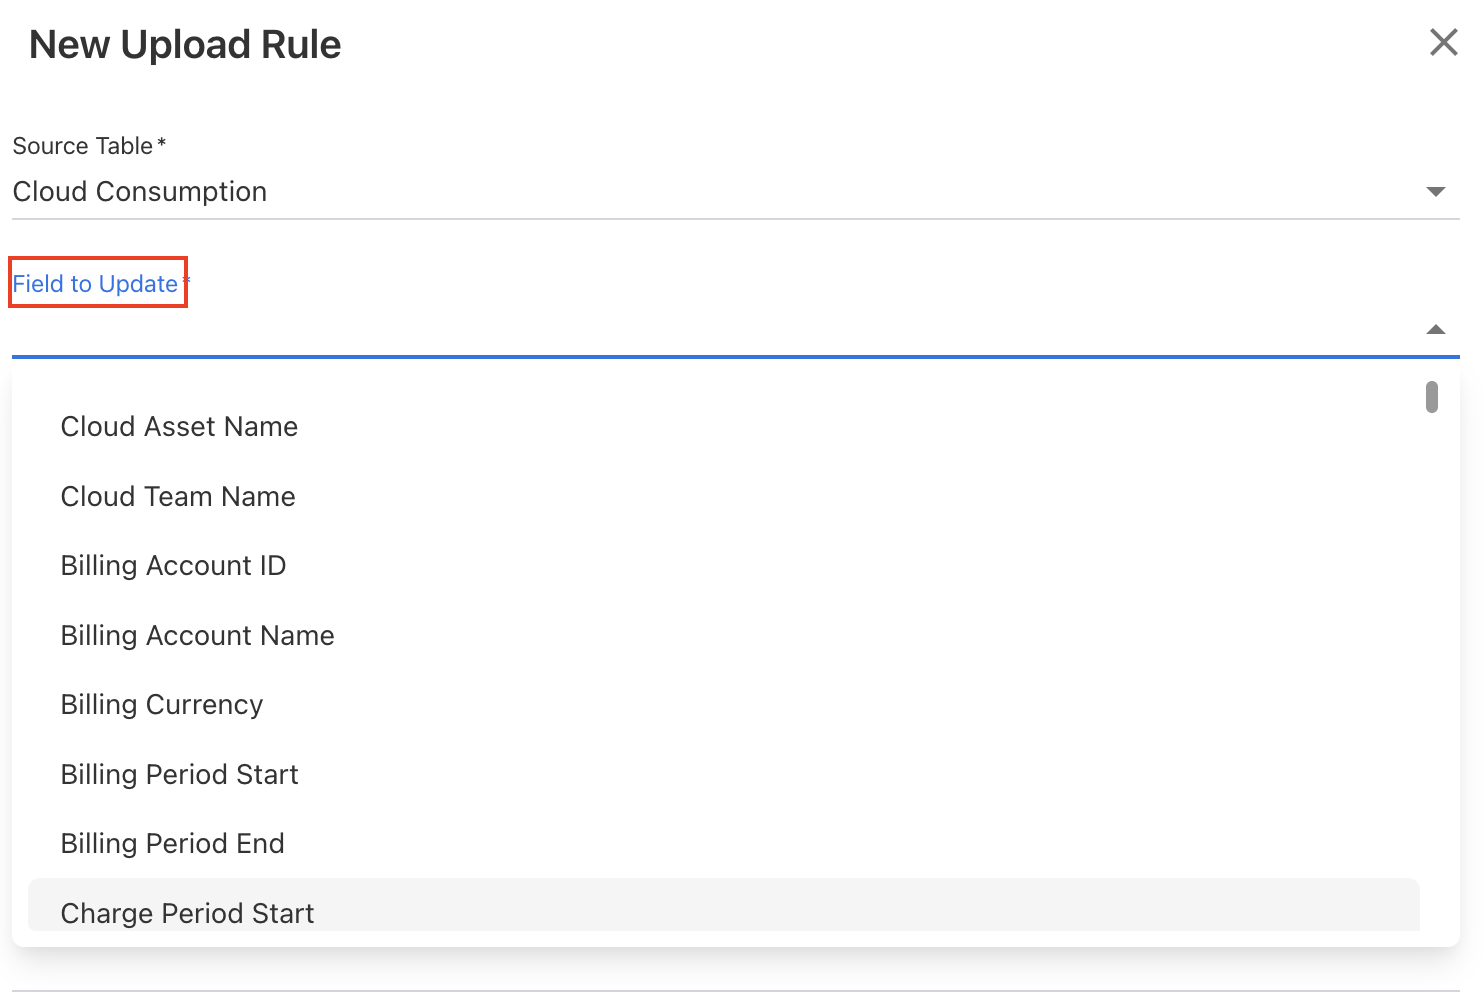
Field to Update: Select the destination column within the selected table where the rule will be applied.
-
-
Select the Rule Type from various rule types:
-
Default String / Integer / Float / Date
Adds a fixed value to a field (text, number, decimal, or date). -
Copy Column
Copies data from one column to another. -
Extract Column (Regex)
Extracts specific values from a column using a pattern. -
Function
Applies predefined system functions (e.g., convert data types, handle active status, extract tags). -
Lookup
Retrieves and populates values from a predefined lookup table based on matching conditions. -
Concat
Combines multiple fields (or values like default, sequence, file name) into a single field. -
Extract Tag
Extracts specific tag values from a tag column in cloud data. -
Spend Reversal
Excludes selected records and creates reversal entries. -
Ignore Rows
Skips specific rows from being uploaded. -
Generate Date
Automatically generates a date based on the upload month and year.
-
-
Configure the rule-specific fields depending on the selected rule type.
-
(Optional) Enable Apply on empty fields toggle button if you want to apply the rules on empty or blank fields.
-
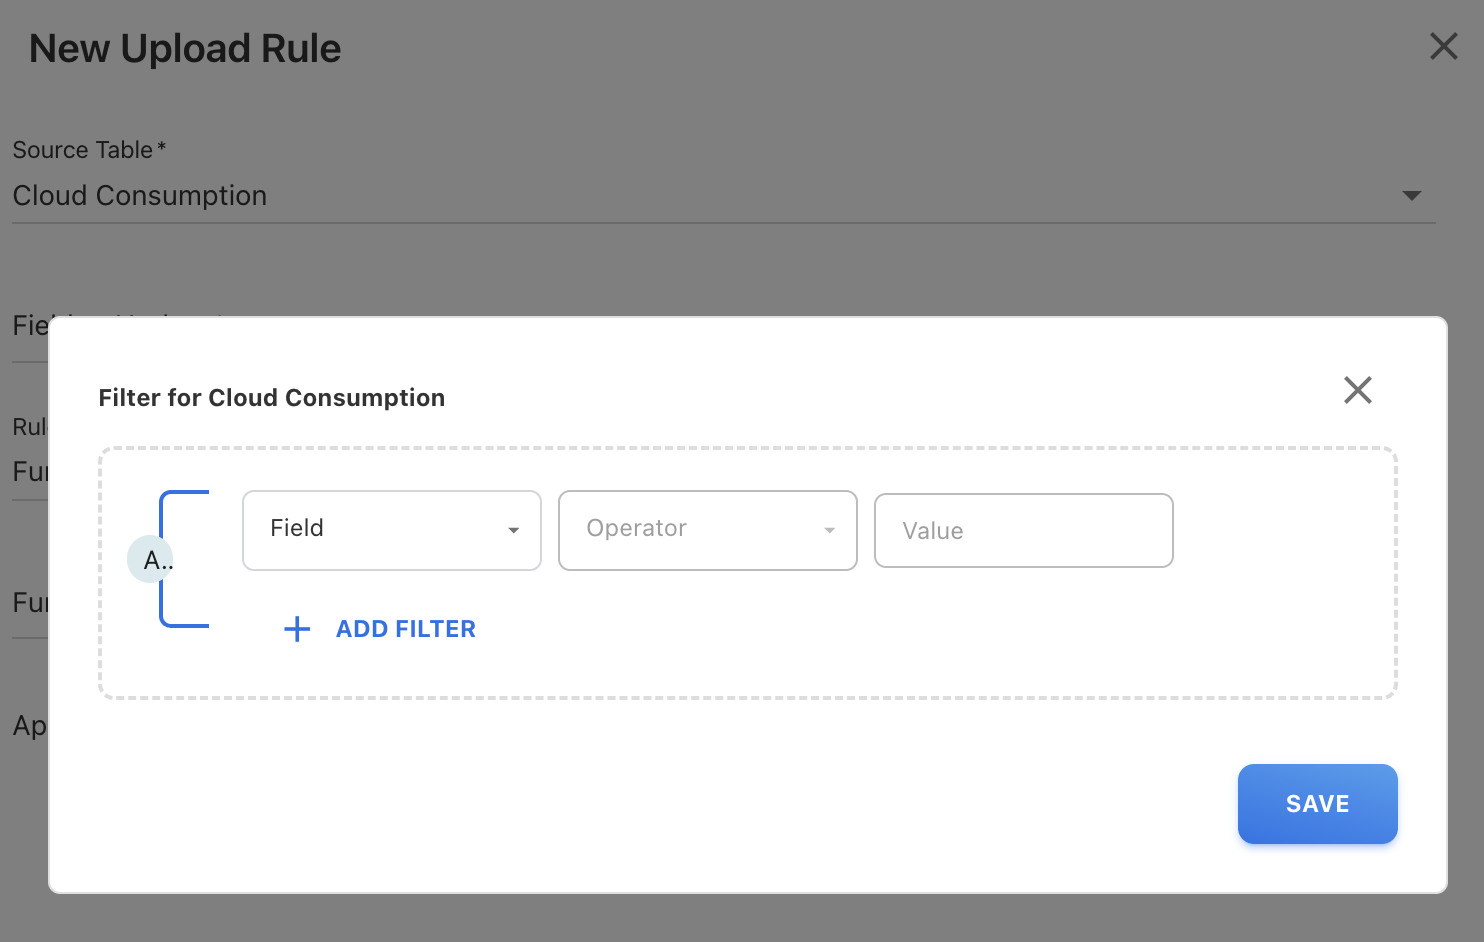
(Optional) Click + ADD FILTER to add additional filter criteria to the upload rules.
-
(Optional) Add a Comment to describe the purpose of the rule.
-
Click SAVE to activate the rule.
The upload rule is created. You can find a list of all the rules in the UPLOAD RULES tab.
Edit an upload rule
-
Navigate to the Upload Rules tab in the required module.
-
Locate the rule you want to modify.
-
Click the Edit icon.
-
Update the required fields:
-
Rule configuration
-
Filters
-
Apply on empty fields setting
-
Comment
-
-
Click SAVE.
Notes:
-
Editing a rule will apply only to future uploads and will not automatically update existing data.
-
To apply the updated rule to previously uploaded records, you must re-upload (reload) the file so the changes can take effect during the upload process.
Delete an upload rule
-
Navigate to the Upload Rules tab.
-
Locate the rule you want to remove.
-
Click the Delete icon.
-
Confirm the deletion.
Notes:
After deleting upload rules,
-
The rule will no longer be applied to future uploads.
-
Existing data that was processed using the rule will remain unchanged.
Related content