
The Automate feature allows you to streamline the process of uploading files into your system. Instead of manually uploading data each time new files are added to your cloud storage, Automate enables scheduled and recurring uploads using the Pipeline feature. This ensures your data stays up to date while reducing manual effort.
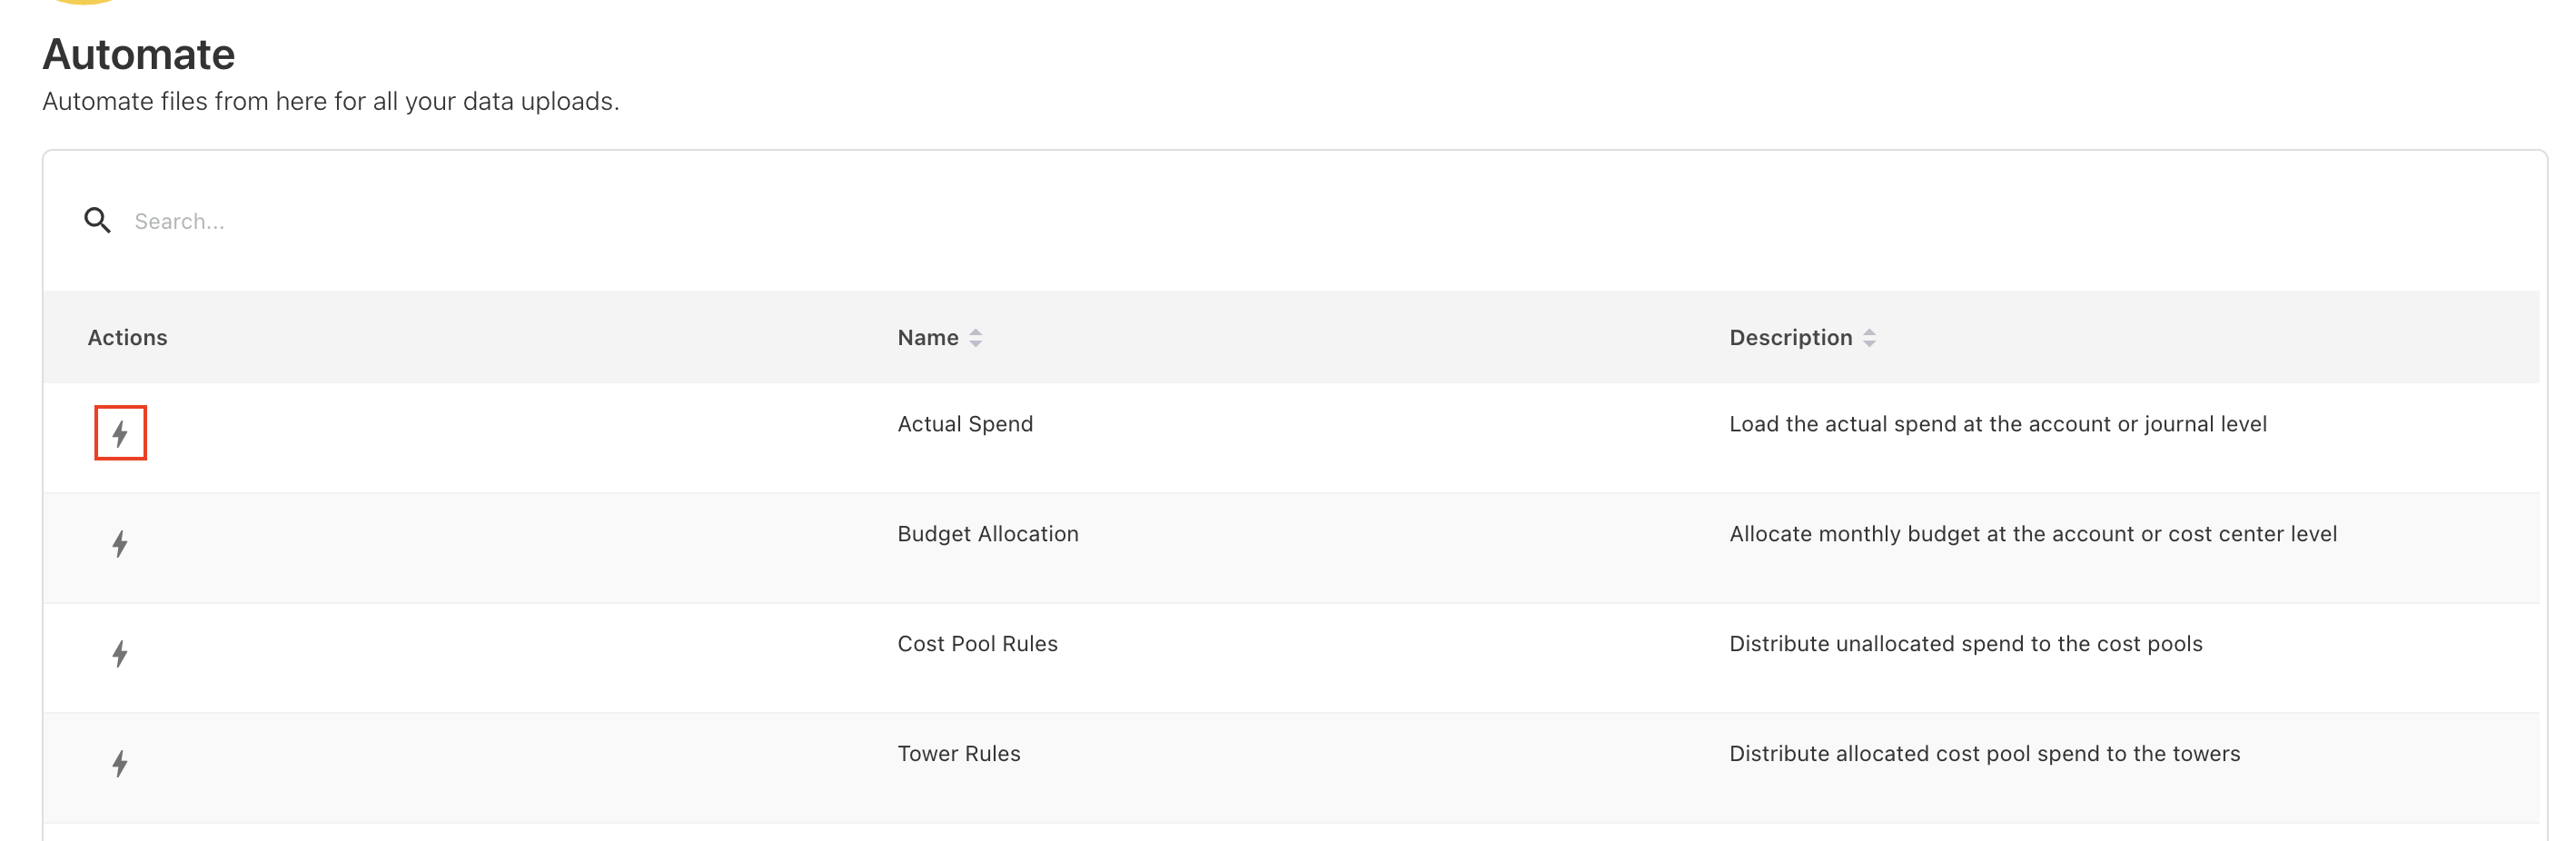
The Automate screen provides a centralized list of all file types that support automated uploads—such as actual spend, budget allocation, cost pools, assets, metrics, cloud consumption files (Azure, AWS, FOCUS), and other file types.
If a file type uses automation, the Automate (lightning bolt) icon helps you quickly identify whether automation is active or inactive:
-
Blue lightning bolt → Automation is active
-
Grey lightning bolt → Automation is inactive
What Automate does
Automate enables you to:
-
Upload files automatically for all supported data types.
-
Schedule recurring uploads using Pipelines at defined intervals.
-
Pull files from the cloud storage folders you configure.
-
Track all automated uploads in one place under the Automate screen.
-
Create and maintain data mapping templates, ensuring consistent field mapping across all automated uploads.
Automate focuses on file ingestion only. Any additional processing or transformation must be configured in upload rules.
Requirements and limitations
-
A cloud storage connection must be configured before enabling automation.
-
Only files in the selected folder will be processed.
-
Mapping templates must be reviewed to ensure correct field alignment.
Ways to activate automation
You can enable automation from two places:
Uploaded Files tab
If you recently uploaded a file manually, you can automate it directly from the UPLOADED FILES tab. Click the Automate icon to start automation.
When activating automation from this tab:
-
The system uses the field mapping from your uploaded file
-
All future automated uploads will follow that mapping
-
You may overwrite or replace the mapping template later if needed

Pipelines > Automate screen
This screen provides a centralized view of all file types that support automation—such as Actual Spend, Budget Allocation, Assets, Cloud Consumption (Azure, AWS, FOCUS), Allocation Rules, Companion Metrics, and many more.
This screen is ideal when:
-
You want to view all available file types in one place
-
You need to set up automation for multiple datasets
-
You want to verify which file types are currently automated
When to use the Automate feature
Use Automate when you want to:
-
Process recurring datasets (monthly budgets, weekly spend, daily metrics)
-
Ingest large volumes of cloud billing or operational files
-
Eliminate repeated manual uploads
-
Maintain consistent and reliable data flows
-
Keep dashboards, reports, and workflows refreshed with the latest data
Setting up automation
Follow the steps below to automate file uploads at first time for any supported data type.
Step 1: Configure your cloud storage connection
Before enabling automation, ensure that your cloud storage connection (AWS S3, Azure Blob, Google Cloud Storage) is already set up.
Step 2: Open the Automate setup
You can start automation from either place:
-
Uploaded Files tab
-
Find the file you previously uploaded manually.
-
Click the Automate icon under the Actions column.
-
The automation will use that file’s field mapping as the initial mapping template.
-
-
Pipelines → Automate screen
-
Locate the file type you want to automate.
-
Click the grey Automate icon in the Actions column.
-
Step 3: Select your cloud storage type
In the pipeline popup, choose the cloud storage provider from which automated uploads should occur.
Step 4: Choose the connection
Select the appropriate cloud storage connection.
Step 5: Select the folder or directory
-
Specify the folder or directory in your connected cloud storage from which the system will retrieve files for automated uploads. For more information on best practice for directory setup, refer Automate | Recommended best practices for directory setup.
-
By default, the app automatically uses the data template file name as the directory name. However, you may change the directory name based on your storage structure.
Directory selection behavior
-
Automation processes only the files inside the selected folder.
-
Files stored outside this directory will not be ingested.
-
You can modify the folder path later by editing the Pipeline configuration.
Step 6: Review or update the data mapping template
Automate will automatically assign a mapping template based on the file type:
-
If a mapping exists, you may keep it, replace it, or create a new one.
-
If triggered from Uploaded Files, mapping from that file is used by default.
-
If no mapping exists, a new template is created.
Step 7: Set the upload schedule
Choose how often you want the system to check the folder and upload new files:
-
Hourly
-
Daily
-
Monthly
Step 8: Confirm the pipeline
-
The platform automatically generates a pipeline name according to the file type. You may edit it if needed.
-
Click SAVE to save the automation. The Automate icon turns blue, indicating automation is now active for that file type.
Managing automation
You can edit, deactivate or delete the automation from the Pipelines screen.
Deactivate automation
-
To turn off automation for a file type, you must disable the associated Pipeline from Admin > Pipelines > Pipelines.
-
You cannot disable automation directly from the Automate screen. The Automate icon will turn grey only after the linked Pipeline is revoked.
What happens when you delete an automation file from uploaded files tab
-
Deleting an uploaded file from UPLOADED FILES tab does not impact automation.
-
Automation continues to run on schedule unless the data mapping template associated with that file type is deleted.
-
If the file is deleted → automation continues
-
If the mapping template is deleted → automation cannot run until a new mapping is created
-
Recommended best practices for directory setup
Follow these guidelines to keep automated uploads clean, reliable, and easy to maintain.
1. Use a dedicated folder for each file type
Keep each dataset—such as Actual Spend, Budget, Assets, Metrics, or cloud usage files—in separate folders to prevent accidental ingestion.
Example structure:
/Finance/Actual_Spend/ /Finance/Budget/ /MasterData/Assets/ /Cloud/Azure/ /Cloud/AWS/ /Cloud/FOCUS/
2. Avoid mixing different file types in one folder
If multiple file types share the same directory, automation may ingest incorrect files or trigger mapping conflicts.
3. Maintain consistent naming conventions
Use predictable file naming conventions to ensure files are uploaded to the correct period.
-
For monthly upload–supported data (such as Actual Spend, Budget, Cloud Consumption, Assets, and similar datasets), the file name must end with the
_YYYYMMformat (for example,ActualSpend_202512.csv).
This helps Yarken automatically associate the file with the correct month and year during upload. -
For non-monthly uploads (such as Master Data), you do not need to follow the year-month naming format in the file name.
4. Keep folder paths stable
Frequent changes to the directory path may interrupt scheduled uploads or cause files to be missed.
5. Ensure correct permissions
Your cloud storage provider must grant the app read access to the selected folder.
6. Upload only final, validated files
Because this directory is monitored automatically, avoid placing drafts, test data, or incomplete files in the folder.
Related content