
Users can be added to the application in two ways:
-
Manually through the User Management screen
-
In bulk by uploading a file using the Users template
Add users manually
Prerequisites
Before adding a new user, ensure you have:
-
Admin access
-
The user’s name or username
-
The user’s email address
Procedure
To add,
-
Sign in to the application as an Admin.
-
From the menu bar, navigate to Admin > User Management > Users. A Users page opens.
-
On the upper-right corner, click + ADD NEW icon.
-
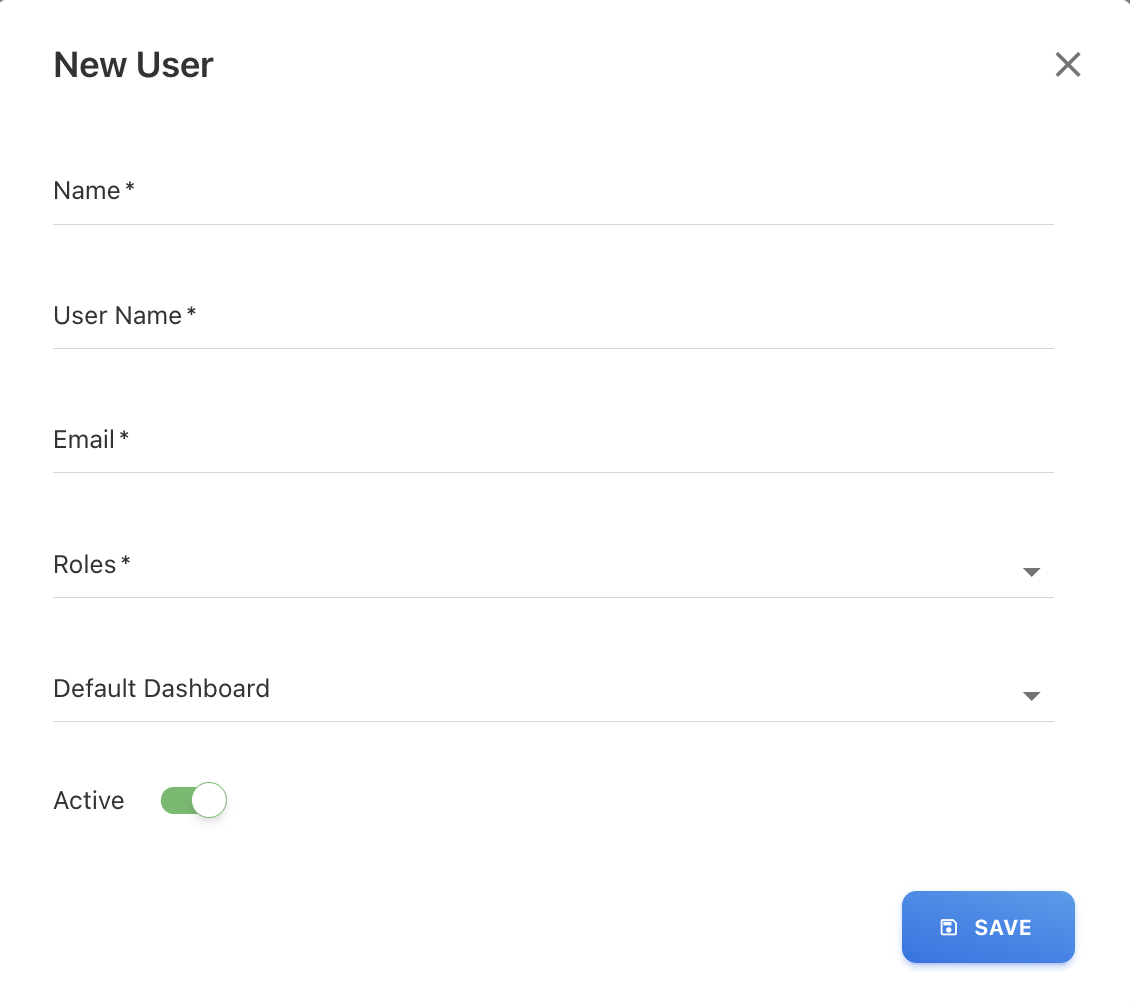
On the New User page, provide the new user’s information:
-
Name: Enter a new user name.
-
User Name: Enter a user email id or username.
-
Email: Enter a unique email id.
-
Roles: Select one or more roles from the dropdown list. You can assign multiple roles to a single user. Refer https://yarken.atlassian.net/wiki/spaces/YD/pages/edit-v2/423624706 page to view access-level information for each role.
-
Default Dashboard: Set the default dashboard for the home page. You may assign a custom or existing standard dashboard as a default dashboard.
-
Active (toggle): Activated by default and user can sign in. When disabled, the user account remains in the system but cannot log in.
-
-
Select SAVE. A confirmation pop-up appears.
The user is now added to the application and can sign in based on the assigned roles.
Add users using file upload
In addition to adding users manually, Yarken supports bulk user creation using the Users template file. This is useful when onboarding multiple users at once.
Note: If users are uploaded without specifying a role in the template, the system automatically assigns the No Role. Users with No Role cannot access any dashboards or features until a role is explicitly assigned.
Prerequisites
Before uploading users, ensure the following:
-
You have Admin access.
-
The Users template file is downloaded and completed correctly.
-
User details such as Name, User Name, Email, Roles are available.
Template guidelines
-
Roles
-
Separate multiple roles using a comma (,).
-
-
Active (Activated by default)
-
Yes — User is active and can sign in.
-
No — User is inactive and cannot sign in.
-
Inactive users remain in the system and can be activated later if required.
Procedure
-
Download the Users template from the Data Dictionary.
-
Populate the template with the required user details, such as:
-
Name
-
User name
-
Email
-
Roles
-
Default dashboard (if applicable)
-
-
Save the template file.
-
Navigate to Admin > User Management > Users.
-
Click UPLOAD button.
-
Drag or drop your file on data upload popup.
-
Review the data during validation and confirm the upload.
Users are created in bulk, with roles and default dashboards applied based on the uploaded file. Any validation issues are reported during upload.
Related content