
Once master data is created or uploaded, you can manage it directly within the application. This includes reviewing records, updating values, controlling their active status, or removing records when no longer required.
Managing master data is critical because these records are referenced across the entire cost model. Any changes made here can impact:
-
allocation rules
-
mappings across Cost Pools, Towers, and Solutions
-
reporting and analytics outputs
Before making changes, ensure that the updates are intentional and validated, especially for key datasets such as Accounts and Cost Centers.
Edit master data
Use edit when you need to update existing records.
Procedure
-
Select the required dataset.
-
Locate the record.
-
Click the Edit (pencil) icon.
-
Update the required fields.
-
Click Save.
-
Edits apply globally across all model periods
-
Editing may impact:
-
existing mappings
-
historical reports
-
allocation logic
-
Delete master data
Use delete when a record is no longer required.
Procedure
-
Select the required dataset.
-
Locate the record.
-
Click the Delete icon.
-
Confirm deletion.
-
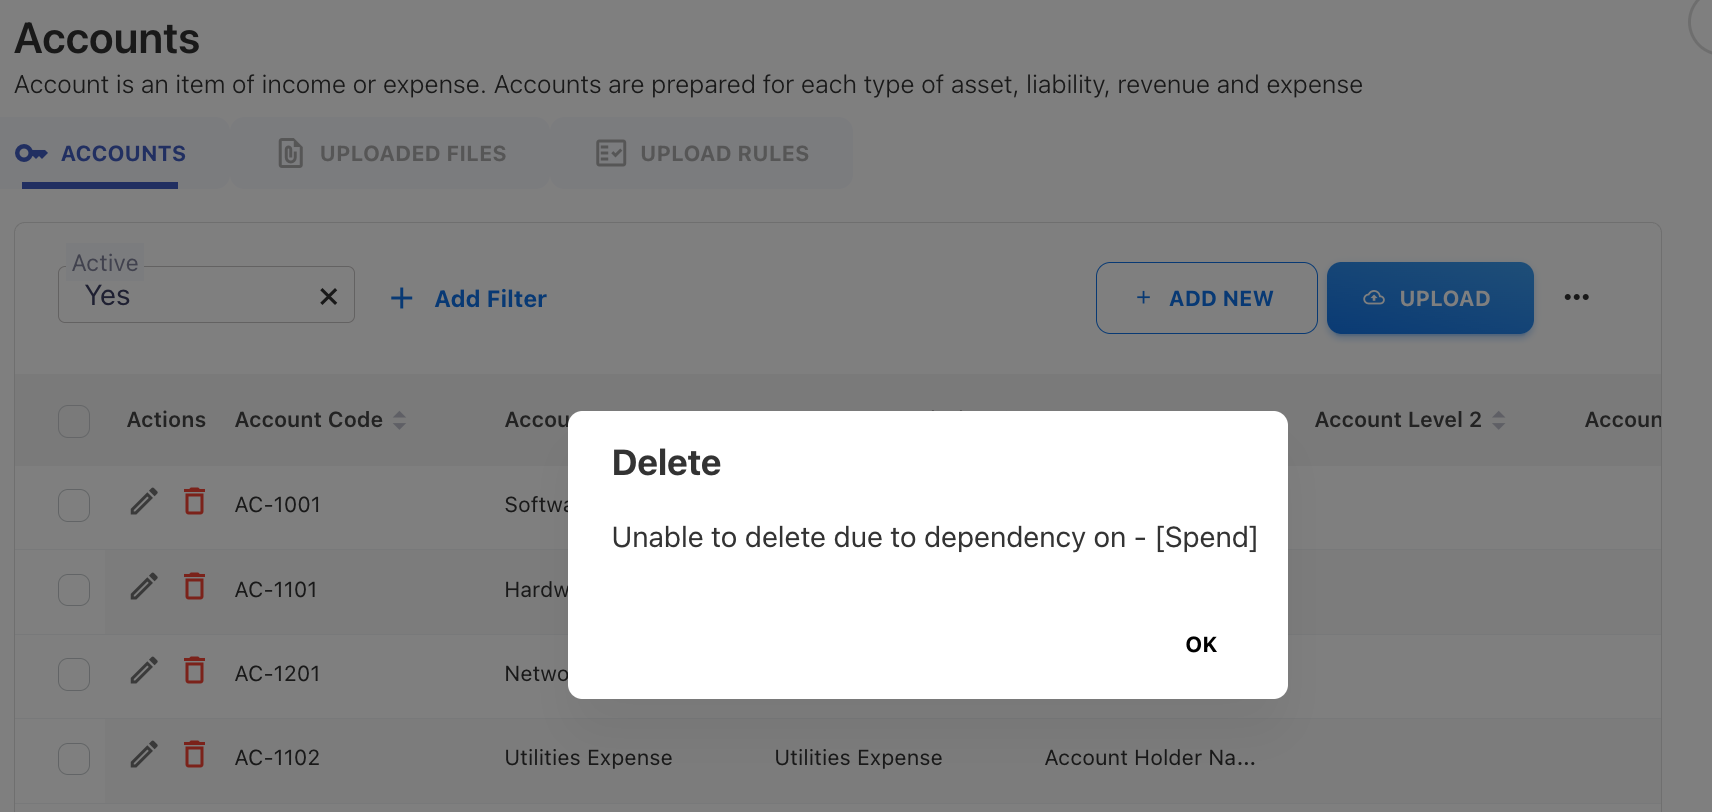
Records can only be deleted if they are not referenced elsewhere.
-
If the record is in use in cost allocation, deletion will be restricted. In such cases, mark the record as inactive instead
Download master data
To export records:
-
Click the (⋯) menu.
-
Select Download.
The application generates a CSV file containing all records, including both active and inactive entries.
Related content