
You can create custom models to support different planning strategies, run parallel scenarios, and organize financial data independently of default models.
Create a new model
Follow these steps to create a custom model:
-
Go to Admin > Settings.
-
Select Models from the left navigation.
-
Click + ADD New in the top-right corner.
-
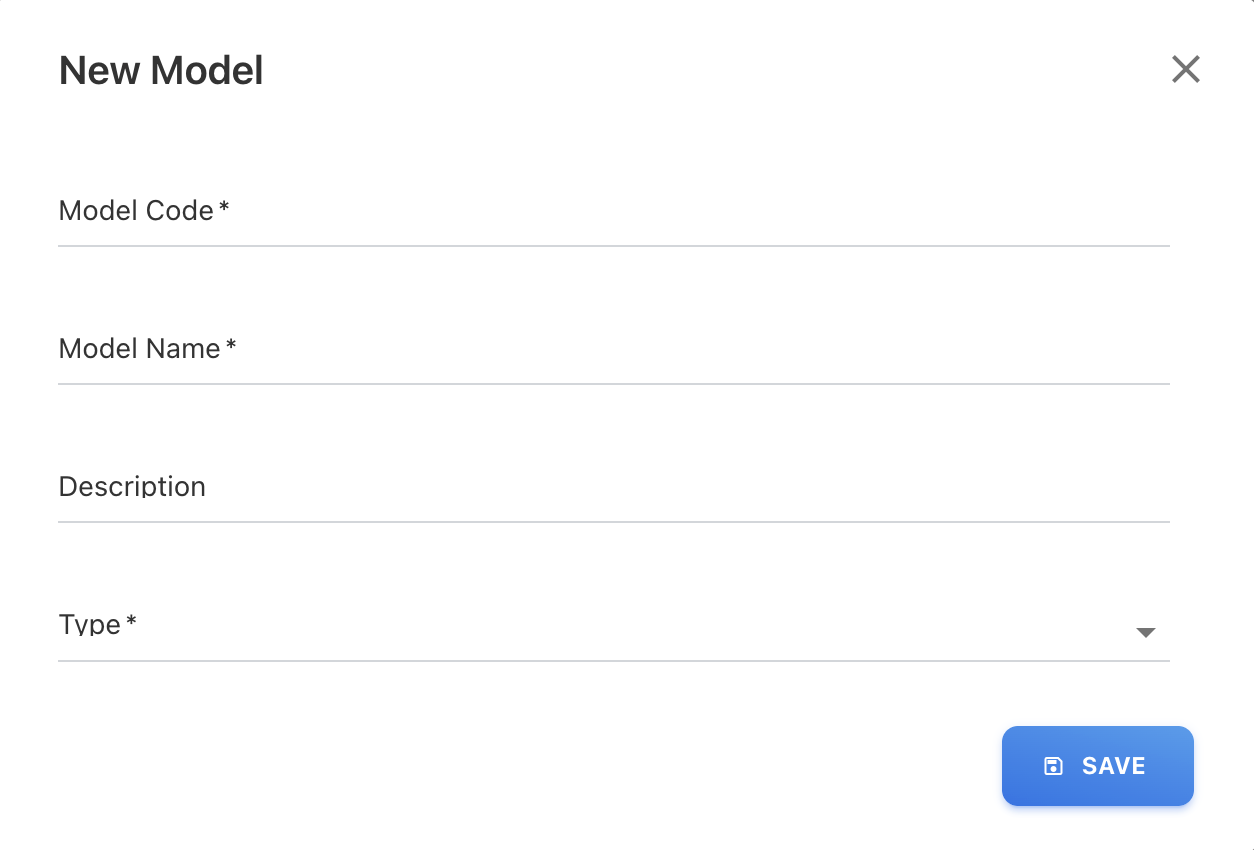
Enter the following details:
-
Model Code
A unique identifier for the model.-
Must start with a letter
-
Cannot contain spaces or special characters
-
Can include underscores (_)
-
-
Model Name
A user-friendly name displayed across the application. -
Description (optional)
A short description to help identify the purpose of the model. -
Type
Select one of the following:-
Spend
-
Budget
-
Forecast
-
-
-
Click Save
Once created, the model will be available across Designer, and Analytics.
Edit a model
You can update custom model details such as model code, name, description, or type::
-
Go to Settings → Models.
-
Locate the model in the list.
-
Click the edit icon under Actions.
-
Update the required fields.
-
Save changes.
Changes to a model type may impact how data is viewed and compared across Analytics and reports.
Delete a model
To delete custom model,
-
Go to Settings → Models
-
Find the model you want to remove
-
Click the delete icon.
Deleting a model will remove all associated expenses and rules linked to that model.
Related content