
Entities allow you to structure financial data across legal, regional, or operational boundaries within a single Yarken instance.
Create a new entity
Procedure
-
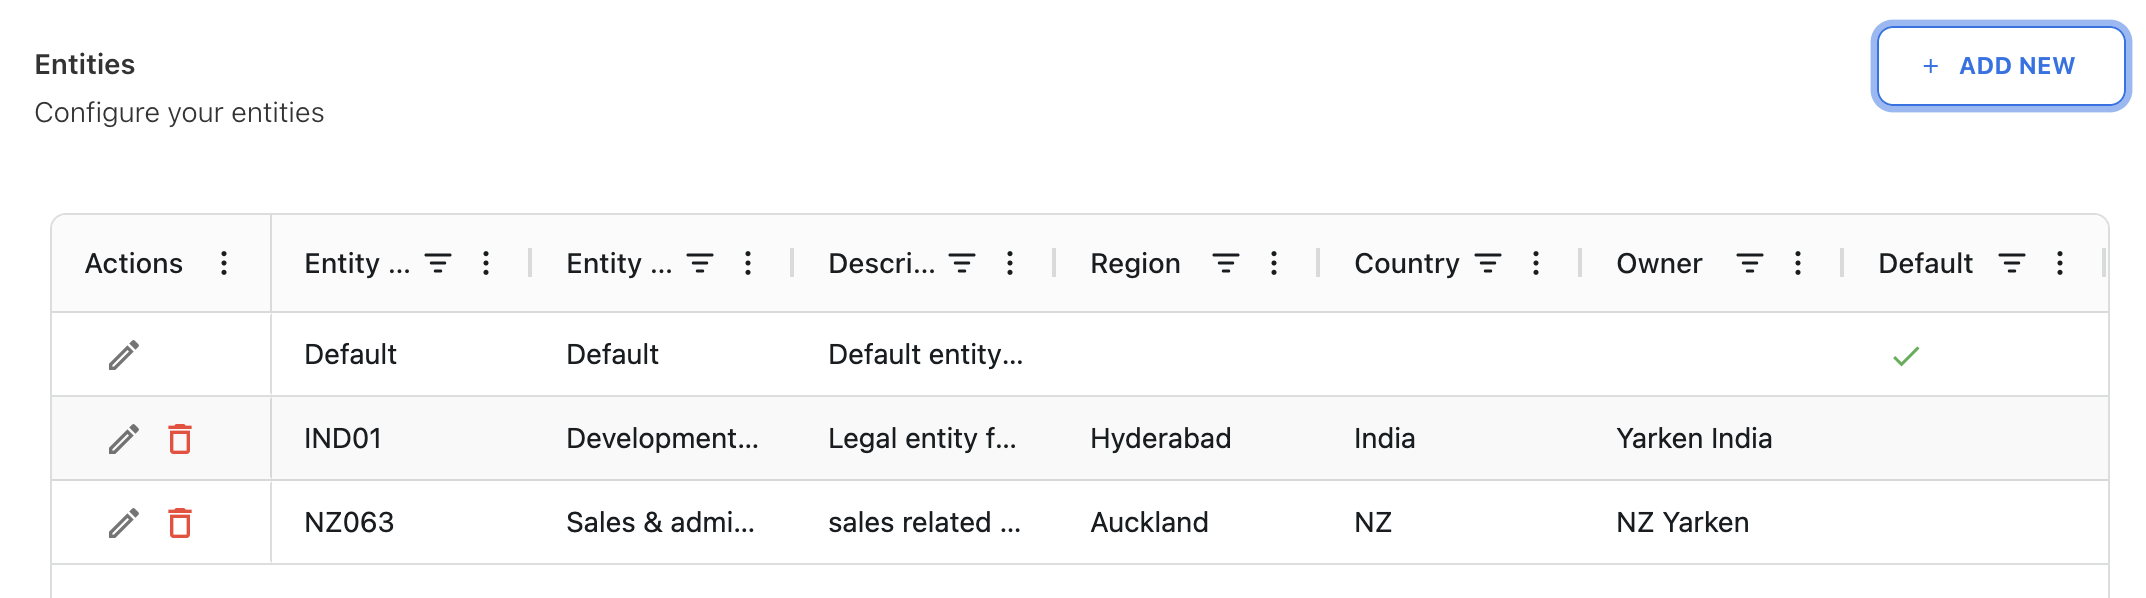
Navigate to Settings → Entities.
-
Click + ADD NEW.
-
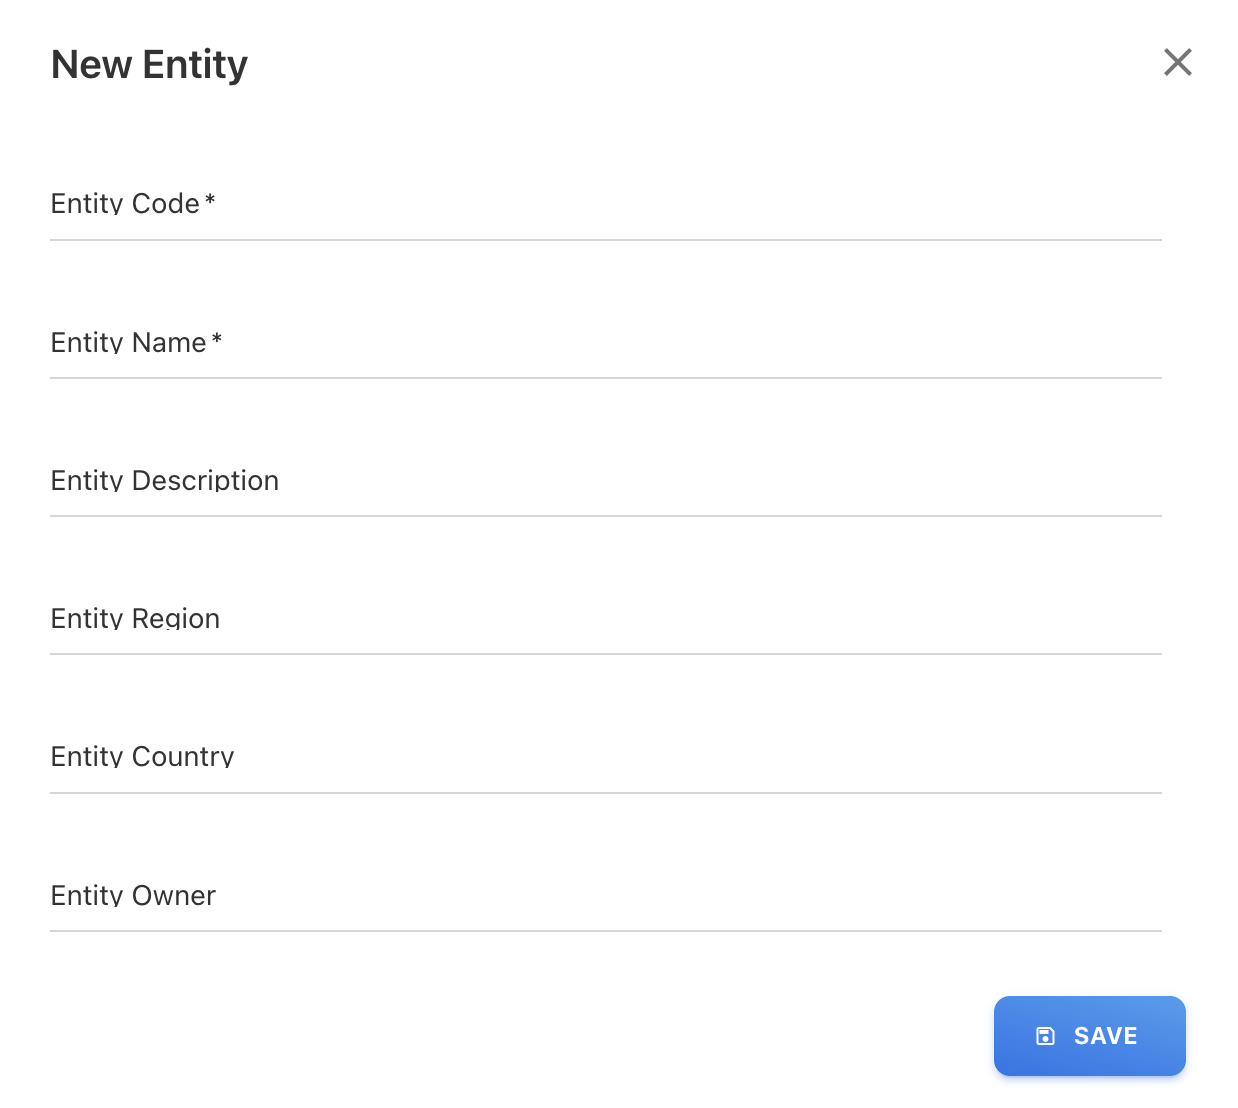
Enter the required details:
Required fields
-
Entity Code - A unique identifier for the entity.
-
Entity Name - The display name of the entity shown in dashboards, reports, and filters.
Optional fields
-
Description - Additional context about the entity’s purpose or scope.
-
Region - The geographical region associated with the entity.
-
Country - The country linked to the entity.
-
Owner - The responsible individual or function for the entity.
-
-
Click SAVE.
The new entity is now available for spend uploads, budgets, forecasts, cloud publishing, reporting, and filtering.
Edit an existing entity
-
Go to Settings → Entities.
-
Locate the entity in the list.
-
Click the Edit (pencil) icon next to the entity.
-
Update the required fields as needed:
-
Entity Name
-
Description
-
Region
-
Country
-
Owner
-
-
Click SAVE.
Notes:
-
The Default entity cannot be deleted, but its name and attributes can be updated.
-
Avoid changing the Entity Code after reporting has started, as it may impact integrations or downstream reporting references.
Delete an entity
-
Go to Settings → Entities.
-
Locate the entity in the list.
-
Click the Delete (trash) icon.
-
Confirm the deletion when prompted.
Before deleting
Ensure that:
-
No spend records reference the entity.
-
No budgets or forecasts are assigned to the entity.
-
No users are assigned to the entity.
-
No upload rules depend on the entity.
If dependent records exist, reassign them to another entity before deleting.
Restrictions
-
The Default entity cannot be deleted.
-
Deleting an entity removes it from filters, reporting, and access control immediately.
Next step
Assign entity access (Admin-only)
Related content