
Overview
Use this guide to prepare and configure advanced integrations in Yarken.
Every advanced integration follows the same implementation process, regardless of the external application or cloud provider. This guide explains the overall workflow and directs you to the appropriate setup guides for each stage.
After completing the onboarding process, you can configure provider-specific integrations, such as Azure AI Foundry metrics collection, AWS Trusted Advisor recommendations, or automated file ingestion from cloud storage.
This guide assumes that Yarken has already deployed the required advanced integration components for your environment.
Your responsibility is to authorize the required connections, review the deployed automation recipes, and activate the integration for ongoing use.
Integration workflow
Most advanced integrations follow the same implementation process.
-
Prepare the required credentials.
-
Authorize the required advanced connections.
-
Configure the automation recipe.
-
Test the integration.
-
Activate the automation.
-
Validate the imported or synchronized data.
-
Monitor the integration.
Each stage is described below and links to the appropriate guide.
Step 1: Prepare your integration
Before configuring an integration, identify:
-
The external application or service you want to connect.
-
The data that Yarken needs to retrieve or process.
-
The authentication method required by the external system.
-
The permissions or service accounts required for access.
-
Whether the integration is scheduled or event-driven.
Preparing this information before configuration helps reduce setup time and avoid authentication issues.
Step 2: Authorize the required connections
Every automation recipe requires one or more authorized connections.
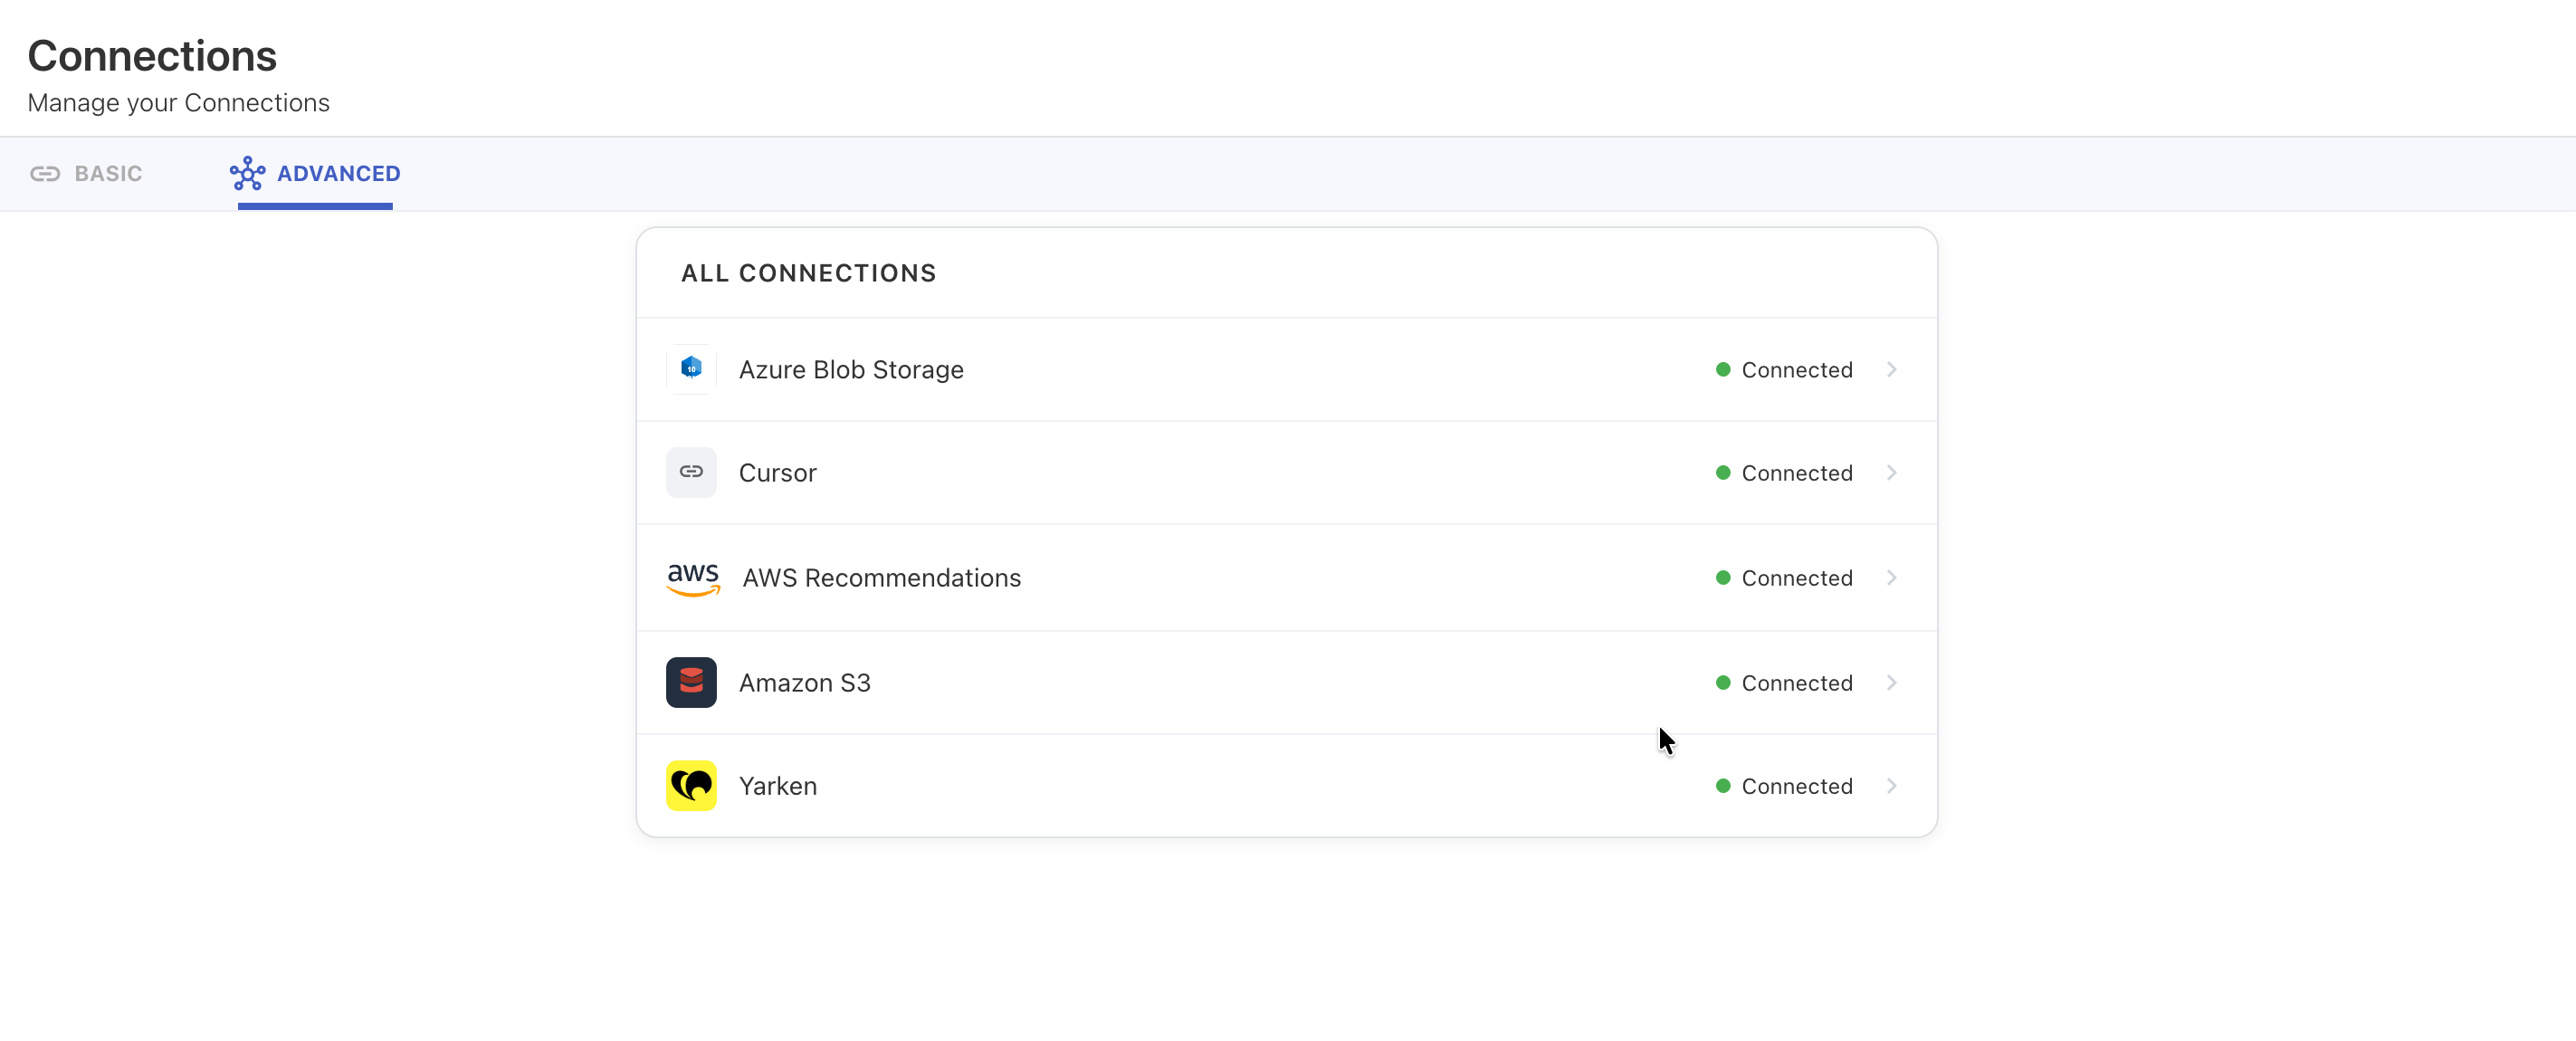
Depending on the integration, you may need connections for:
-
Cloud platforms
-
Databases
-
File storage providers
-
REST APIs
-
The Yarken API
-
Other supported third-party applications
To learn how to configure and authorize connections, see Authorize Advanced Connections.
Step 3: Configure the automation recipe
Automation recipes define how data moves between external systems and Yarken.
Depending on the integration, a recipe may:
-
Retrieve information from an external system.
-
Upload files into Yarken.
-
Trigger a Yarken pipeline.
-
Synchronize information between applications.
-
Execute on a schedule.
-
Execute when an event occurs.
To learn how to review, configure, and activate recipes, see Manage Automation Recipes.
Step 4: Test the integration
Before enabling an integration in production, perform a test run.
Testing confirms that:
-
Authentication succeeds.
-
Required connections are functioning correctly.
-
Data is retrieved successfully.
-
The expected workflow completes without errors.
Resolve any reported issues before activating the automation.
Step 5: Activate the automation
After testing completes successfully, activate the automation recipe.
Once activated, the recipe executes according to its configured trigger, such as:
-
A scheduled interval
-
A detected file
-
An application event
-
A manual execution
Step 6: Validate the results
After the automation runs, verify that the expected results are available in Yarken.
Depending on the integration, validation may include confirming that:
-
Files were uploaded successfully.
-
Pipelines completed successfully.
-
Imported records are available.
-
Dashboards and reports display the latest data.
-
Recommendation data has been synchronized.
If the imported data is used for reporting or analytics, complete any required cube refresh before reviewing the results.
Step 7: Monitor the integration
After an integration has been enabled, review it periodically to ensure it continues to operate successfully.
Regularly monitor:
-
Connection status
-
Recipe status
-
Execution history
-
Failed jobs
-
Authentication errors
-
Processing errors
Monitoring helps identify issues early and ensures data remains accurate and up to date.
Choose your integration
After completing the general onboarding process, continue with the guide that matches your integration.
|
If you want to... |
Go to... |
|---|---|
|
Connect an external application |
|
|
Configure an automation workflow |
|
|
Import AWS Trusted Advisor recommendations |
|
|
Automate cloud storage file uploads |
|
|
Resolve integration issues |