Table of Contents
Create Business Cases
Business case is a document or presentation that outlines the justification for a specific project or investment. It typically includes a detailed analysis of the costs, benefits, risks, and alternatives associated with the proposed action. The purpose of a business case is to provide decision-makers with the necessary information to determine whether a project or investment should proceed.
Creating Business Cases:
Steps for creating Business Cases in YäRKEN.
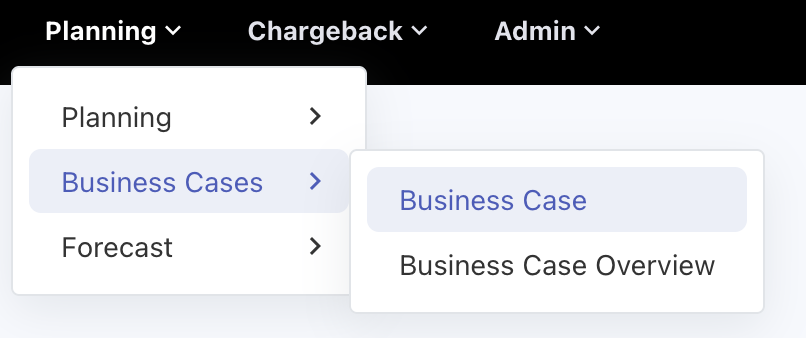
Business Cases can be created in the Business Cases -> Business Case sub menu option which is available under the Planning menu.
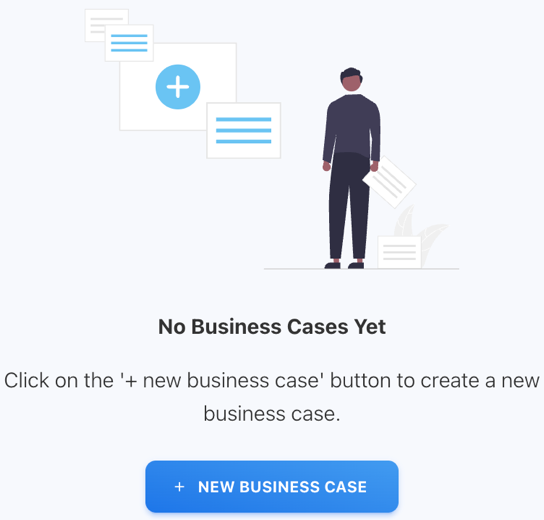
On the Business Case page, click the + New Business Case button on the page center or top right corner to add new business case.
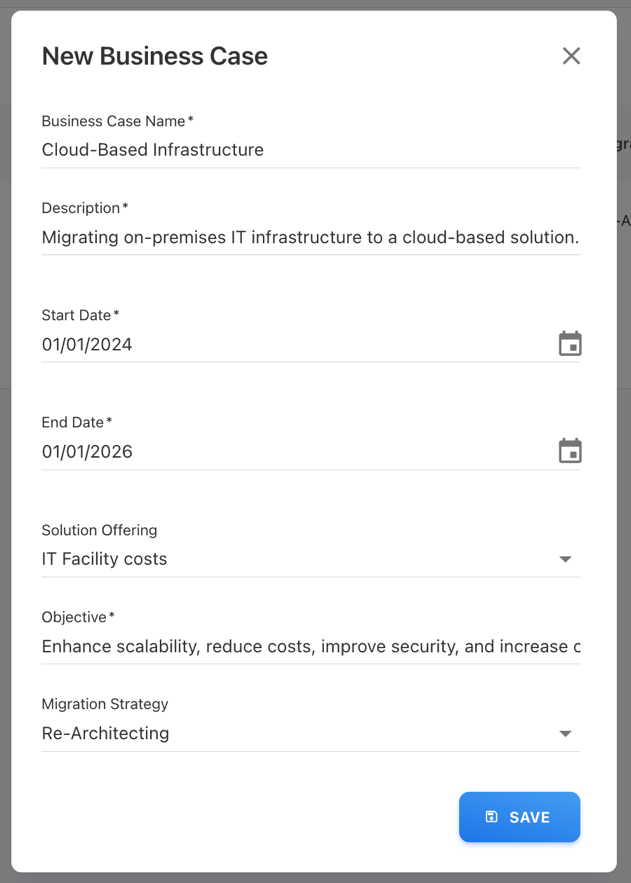
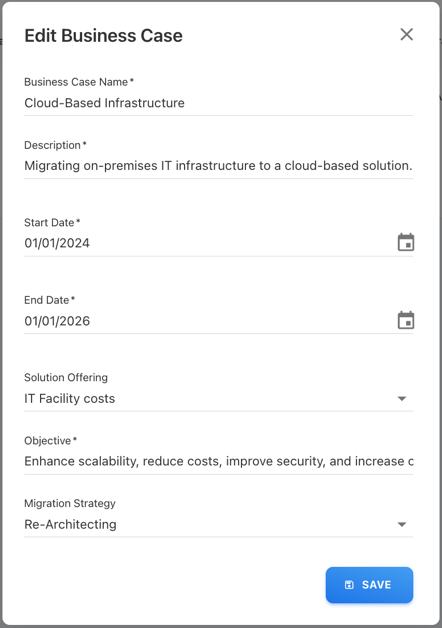
Once the button is clicked a New Business Case popup form will be appearing on the screen. Fill in the details of the business case which to be created.
Form Attributes:
Business Case Name
Specify a name for the business case.(Note: Business Case name must be unique).
Description
Specify the description for the business case.
Start Date
Select the date when the business case is to be started.
End Date
Select the date when the business case is to be Ended.( Note: The end date should be greater than or equal to start date).
Solution Offering
Select the Solution Offering where the business case belongs.
Objective
Specify the Objective of the business case.
Migration Strategy
Select the Migration Strategy for the business case.
Once the form is filled click the SAVE button to create a new business case.
After the form is saved it will redirect to Business Case Details page where the estimations for that business case can be added.
Managing Business Cases:
After the business is created it can be Deleted or Edited.
Editing Business Case:
On the Business Cases page in the table click the Edit ( ![]()

After editing click the SAVE button to save the Business Case.
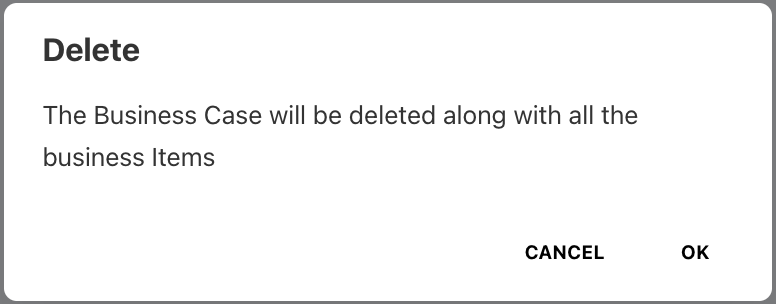
Deleting Business Case:
On the Business Cases page in the table click the Delete ( ![]()
Click OK in the Popup Dialog.
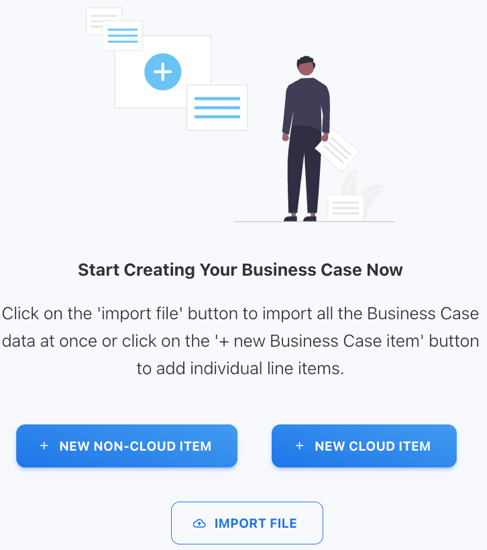
Creating Business Case Details
Two types of business case items can be added for a business case.
-
Non-Cloud Item ( Non-Cloud Cost Estimation)
-
Cloud Item (Cloud Cost Estimation)
Business case items can be added using two methods.
-
Manual Creation.
-
File Upload.
Manual Creation:
Non-Cloud Item Creation:
On the Business Case Details page click + NEW NON-CLOUD ITEM button.

Once the button is clicked a New Non-Cloud Item popup form will be appearing on the screen. Fill in the details of the business case item which to be created.
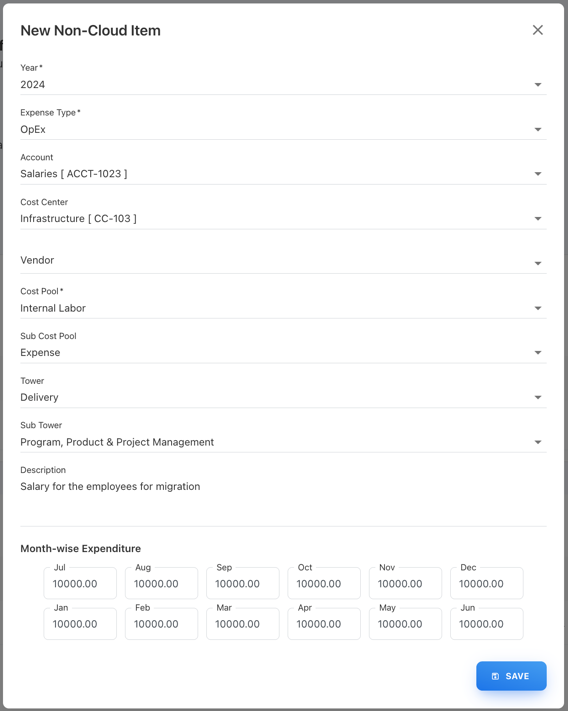
Form Attributes:
-
Year (Select the year from the Dropdown)
-
Expense Type (Select the expence type (OpEx or CapEx) from the Dropdown)
-
Account (Select the Accout from the Dropdown)
-
Cost Center (Select the Cost Center from the Dropdown)
-
Vendor (Select the Vendor from the Dropdown)
-
Cost Pool (Select the Cost Pool from the Dropdown)
-
Sub Cost Pool (Select the Sub Cost Pool from the Dropdown)
-
Tower (Select the Tower from the Dropdown)
-
Sub Tower (Select the Sub Tower from the Dropdown)
-
Description (Specify the description for that item)
-
Month-wise Expenditure (Specify the Expenditure cost for each month)
Once the form is filled click the SAVE button to create a new non-cloud business item.
Cloud Item Creation:
On the Business Case Details page click + NEW CLOUD ITEM button.

Once the button is clicked a New Cloud Item popup form will be appearing on the screen. Fill in the details of the business case item which to be created.

Form Attributes:
-
Provider (Select the cloud service provider from the Dropdown)
-
Year (Select the year from the Dropdown)
-
Service Name (Select the Service Name from the Dropdown)
-
Service Category (Automatically populated based on the service name)
-
Account (Select the Accout from the Dropdown)
-
Cost Center (Select the Accout from the Dropdown)
-
Vendor (Select the vendor from the Dropdown)
-
Cost Pool (Automatically populated based on the service name)
-
Sub Cost Pool (Automatically populated based on the service name)
-
Tower (Automatically populated based on the service name)
-
Sub Tower (Automatically populated based on the service name)
-
Description (Specify the description for that item)
-
Month-wise Expenditure (Specify the Expenditure cost for each month)
Once the form is filled click the SAVE button to create a new cloud business item.
File Import:
Cloud Item Import:
File Columns:
-
Service Name (Mandatory)
-
Year (Optional)
-
Description (Optional)
-
Account Code (Optional)
-
Cost Center Code (Optional)
-
Monthly Estimated Cost (Optional)
-
Monthly Upfront Cost (Optional)
-
12 month Estimation ( eg: Jan – Dec ) (Optional)
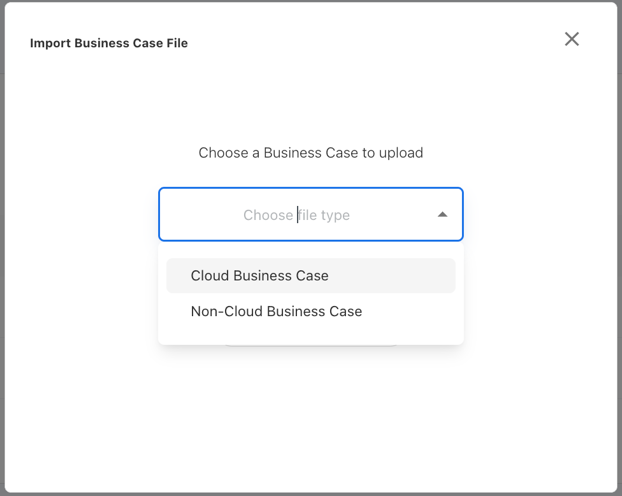
On the Business Case Details page click + IMPORT FILE button.

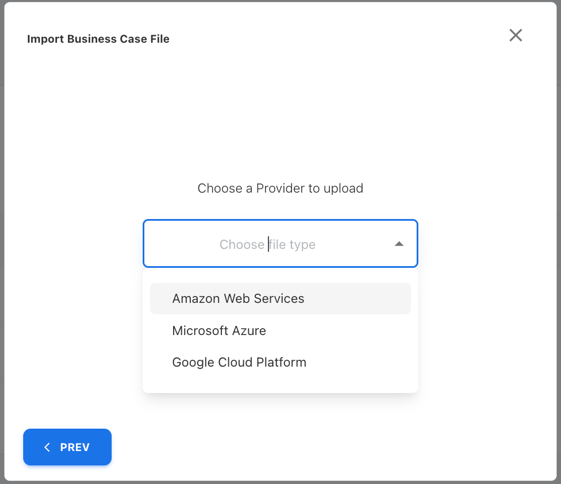
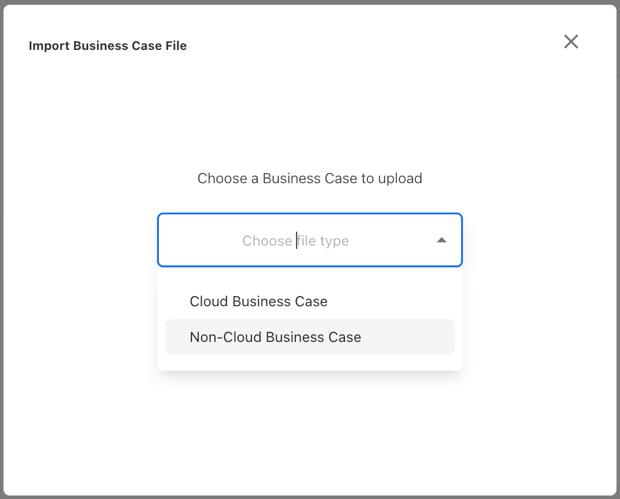
Once the button is clicked Import Business Case File popup will be appearing on the screen.
Click the Choose file type dropdown and select Cloud Business Case from the list.
On the next screen click Choose provider dropdown and select the Provider from the list.
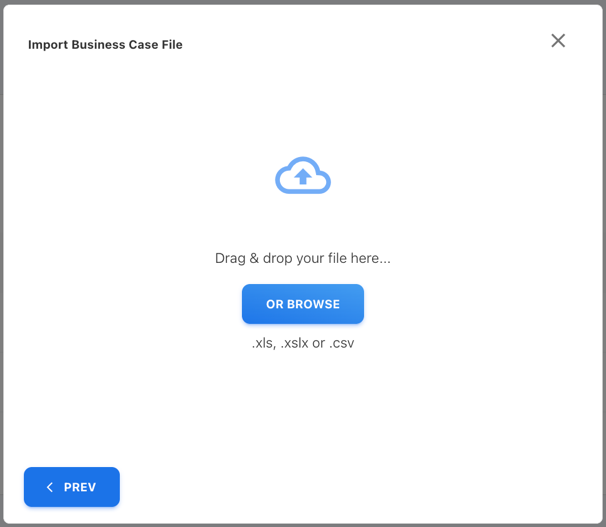
It will redirect to the file upload screen. Either Drag & Drop the file inside the popup or Click OR BROWSE button to select a file from the system.

Once the file is upload review the upload file data on the review screen and click NEXT button.
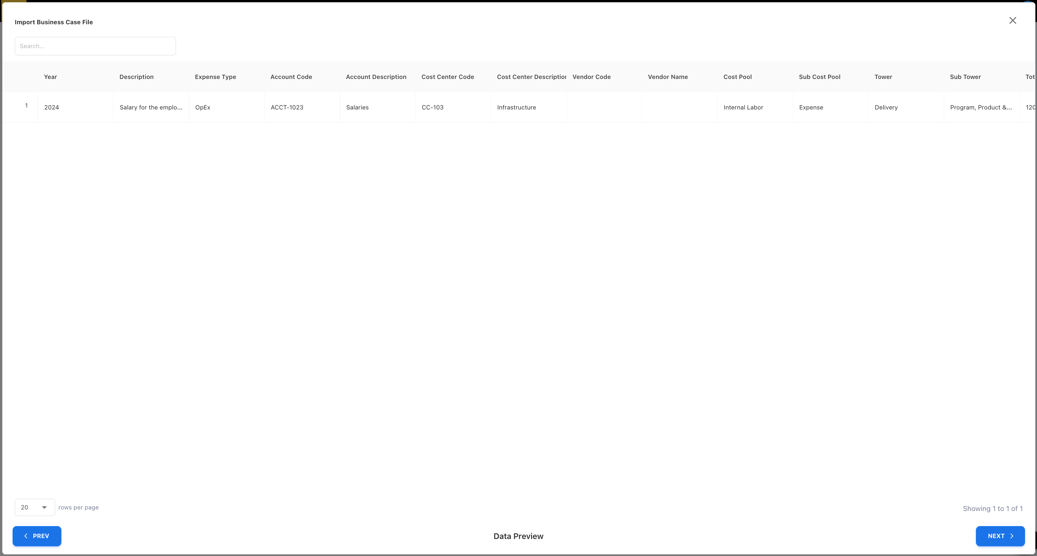
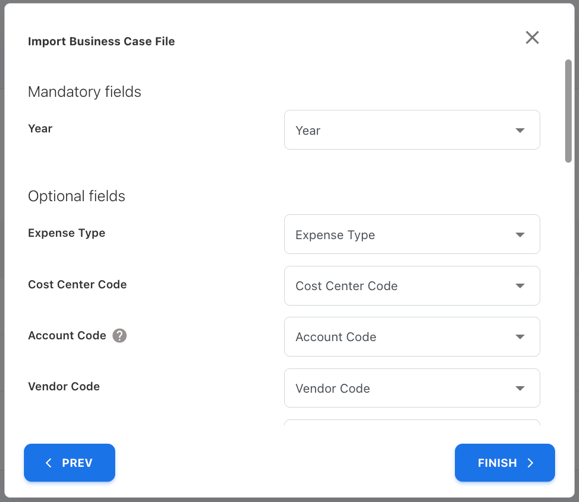
On the next screen verify that all the columns are mapped correctly.
Note:
-
If the Year is not mapped then cloud items will be created for all the months between the business case start and end date.
-
If the Estimated Monthly Cost is mapped then the estimation in that column will be populated for all the months which are not mapped
-
If the Estimated Upfront Cost is mapped then the upfront cost will be added to the starting month of that financial year.

On the next screen, click Choose Vendor dropdown and select the Vendor from the list.
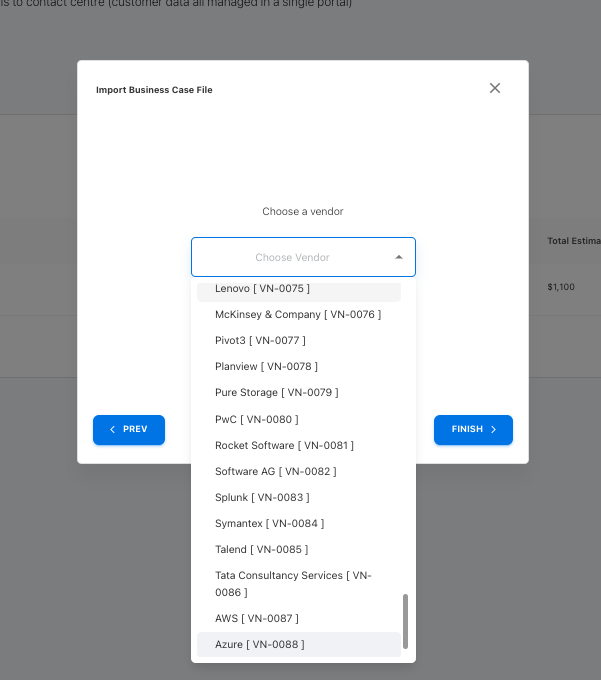
The FINISH button will be enabled once the user selects the vendor from the dropdown.
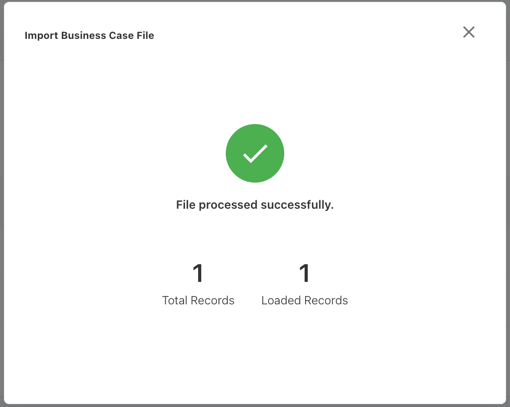
Then, Click the FINISH > button, and the file will be uploaded. Click the X button on the top right to close the upload popup.
Non-Cloud Item Import:
File Columns:
-
Year (Mandatory)
-
Expense Type (Optional)
-
Account Code (Optional)
-
Cost Center Code (Optional)
-
Vendor Code (Optional)
-
Cost Pool (Optional)
-
Sub Cost Pool (Optional)
-
Tower (Optional)
-
Sub Tower (Optional)
-
Monthly Estimated Cost (Optional)
-
12 month Estimation ( eg: Jan – Dec ) (Optional)
On the Business Case Details page click + IMPORT FILE button.
Once the button is clicked Import Business Case File popup will be appearing on the screen.
Click the Choose file type dropdown and select Non-Cloud Business Case from the list.
It will redirect to the file upload screen. Either Drag & Drop the file inside the popup or Click OR BROWSE button to select a file from the system.
Once the file is upload review the upload file data on the review screen and click NEXT button.

On the next screen verify that all the columns are mapped correctly.
[ Note: If the Monthly Estimated Cost is mapped then the estimation in that column will be populated for all the months which are not mapped]
Then, Click FINISH > button the file will be upload. Click the X button on the top right to close the upload popup.

Business Case Metrics
Any number of metrics can be applied to an Business Case.
Adding Metrics to a Business Case:
Prerequisites:
To Apply a metric to the business case, you should have:
The metric created in the Admin Companion Metrics.
Refer to Manage Companion Metrics document for creating metrics.
To add metrics to a business case, on the Business Case Details page click the Metrics dropdown.
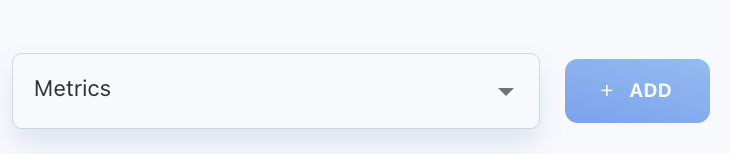
Select the Metrics that are applicable for the business case from the dropdown list.
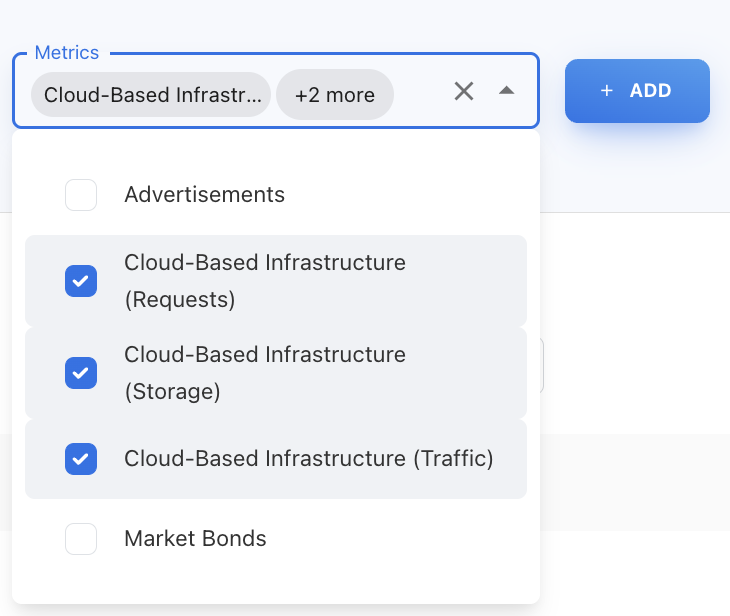
Once the Metrics are selected click + ADD button to add those metrics to business case.
Removing Metrics from a Business Case:
Prerequisites:
To Remove metrics from the business case, you should have:
The metrics added to the business business case.
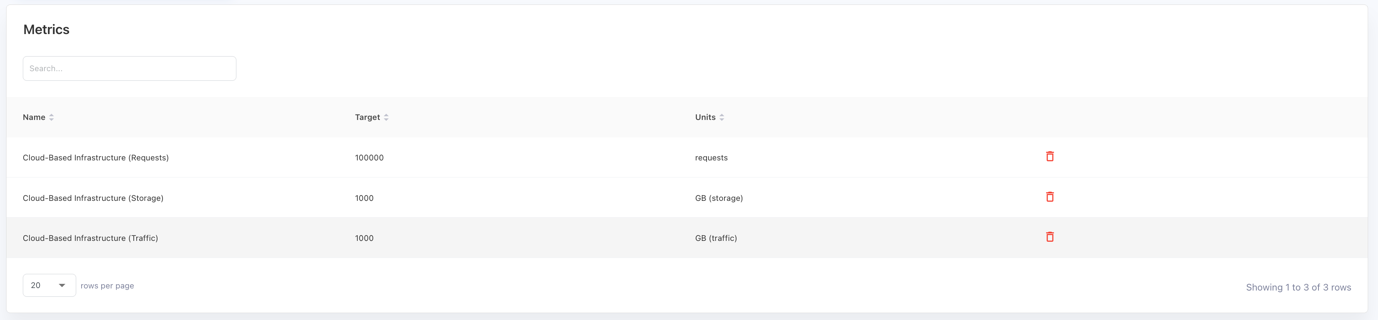
The selected metrics will be shown in the Metrics table.
To remove a metric from the business case click the delete ( ![]()
Click OK in the Popup Dialog.

Managing Business Case Estimates:
Once the estimates are loaded all cloud and non-cloud business case item grouped by year and showed in the Estimates table.

Expand the row by clicking the row expand icon ( > ) to view the detailed view.
After expanding a row there will be different tabs for Cloud and Non-Cloud estimates.
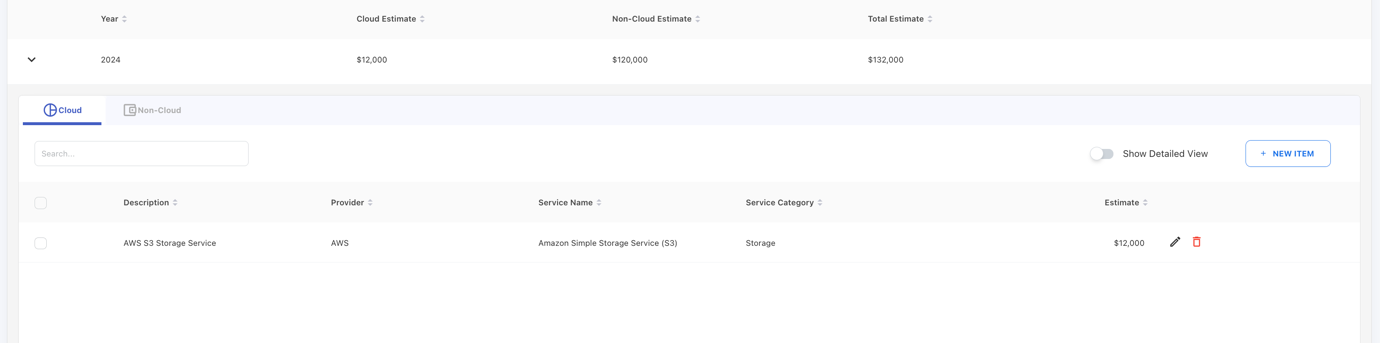
Click the Show Detailed View Toggle Button to view the detailed view of the estimate.
To add a new Cloud or Non-Cloud item click the + NEW ITEM Button next to the toggle.
[ Note: The new item popup is based on the current selected tab. If the + NEW ITEM is clicked when the Cloud tab is selected, then New Cloud Item popup form will be visible and vice-versa for Non-cloud item. ]
To Edit a business case item, click on the edit icon ( ![]()
After editing click the SAVE button to save the item.

To Delete a business case item, click on the delete icon ( ![]()
Click OK in the Popup Dialog.

Approve or Cancel Business Case:
Once all the business case items are in the business case, the business case can be either Approved or Cancelled.
To Approve a Business Case on the Business Case Details page at the top right click on the three Dot button ( ![]()
.
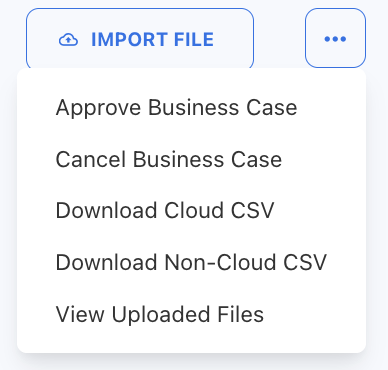
The Menu has the following list options:
-
Approve Business Case (Click to Approve that Business Case)
-
Cancel Business Case (Click to Cancel that Business Case)
-
Download Cloud CSV (Click to download the Cloud items as csv)
-
Download Non-Cloud CSV (Click to download the Non-Cloud items as csv)
-
View Uploaded Files (Click to view the uploaded Business Case Item files)
Once the Business Case is Approved or Cancelled, Business Case and Business Case Items will be Restricted to Edit.
Reverting Business Case:
Prerequisites:
To Revert a Business Case the business case should be either Approved or Cancelled.
Business Case can be reverted from the Business Cases page.
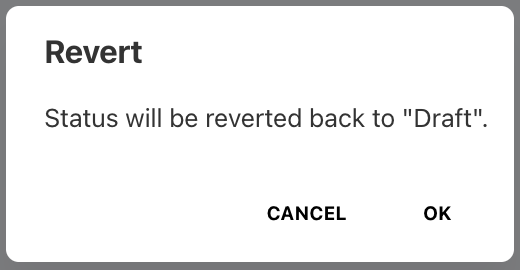
On the Business Cases page in the table click the Revert Icon for the business case which needs to be reverted.

Click OK in the Popup Dialog.