
Introduction
This document is one of the many how-to guides that explain how to use or work on a specific feature within the YäRKEN application.
This document tells about how to create team rules.
Table of Contents
Getting Started
For creating the team rules first the user first user have to get to the Settings Page. Once user got there the user have to first create some teams and then go for creating the rules, is step is recommended but if the user go for creating the rules first while creating the team list will either appear empty or the user will not find the particular team which the user wants to apply the rule. So now For Step 1, the user must go to the settings and select Teams from the submenu
Getting to the Settings Page
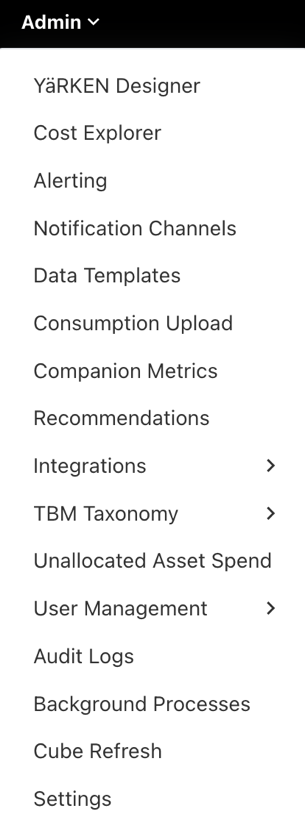
Settings Page can be accessed via the Admin menu.
Only a user with the Admin privilege has access to Settings.
|
Admin >> Settings |
Adding Teams
Following the opening of the Settings page, pick Teams from the left-hand submenu to enter the Teams tab. The following will then display.
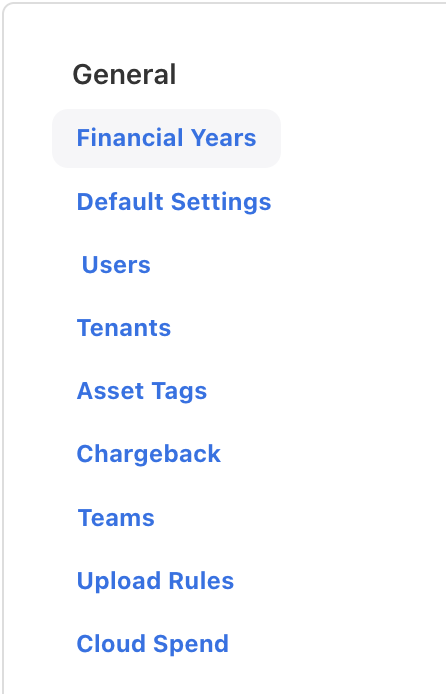
Here, the Teams tab in General group
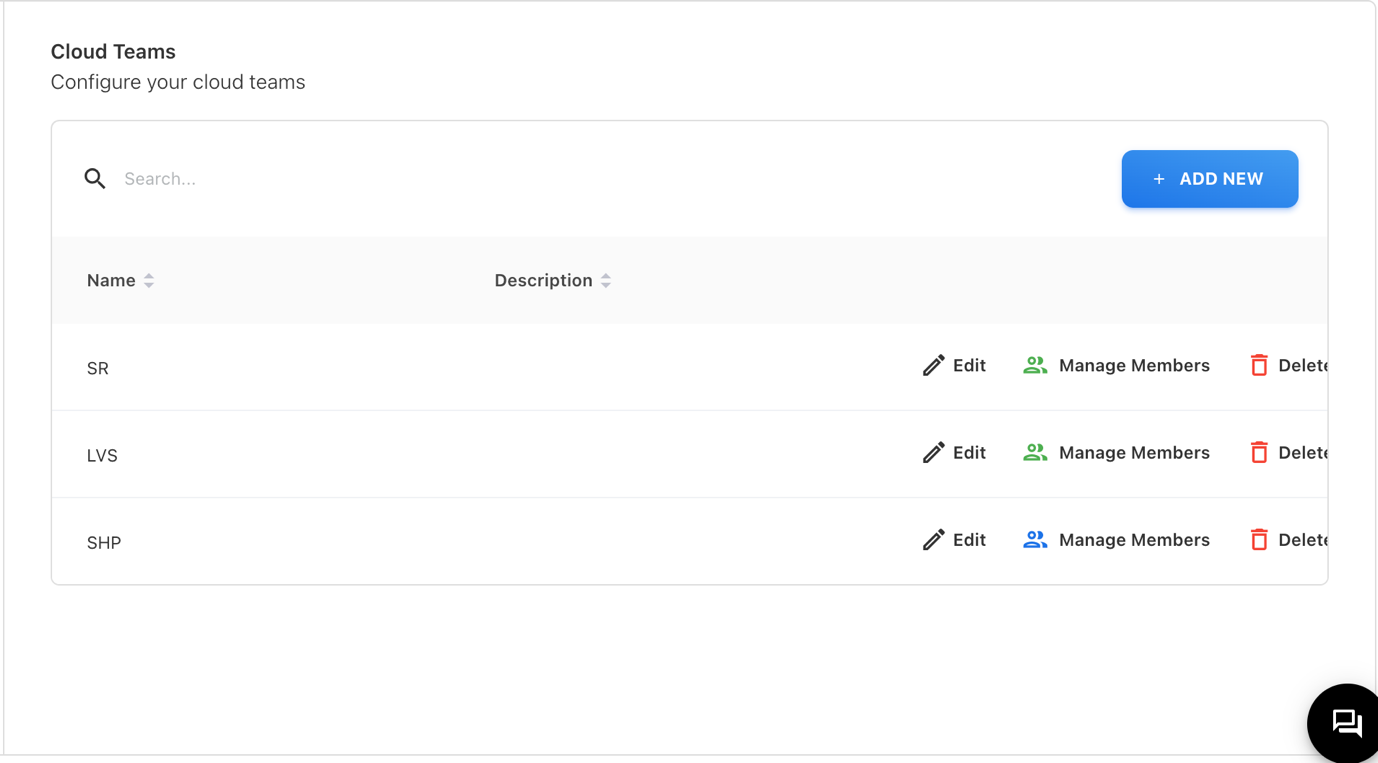
The above graphic appears when you select the Teams tab. Click the + ADD NEW button to add a new team to the list of user-defined teams that are already present. The following popup will open when it is clicked.
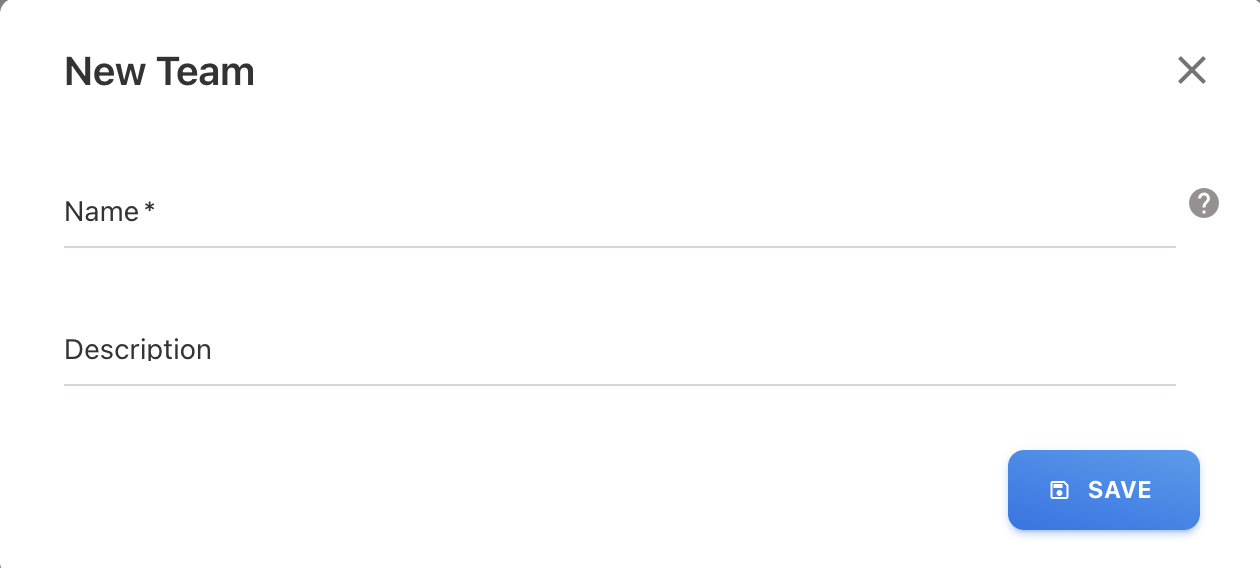
When the window opens, the user must provide the team name and, if necessary, a description. Remember that the name needs to be distinct.
One the table picture shown above, there are three options namely Edit, Manage Members and Delete.
Editing the Team Name
The following window will appear after selecting Edit.
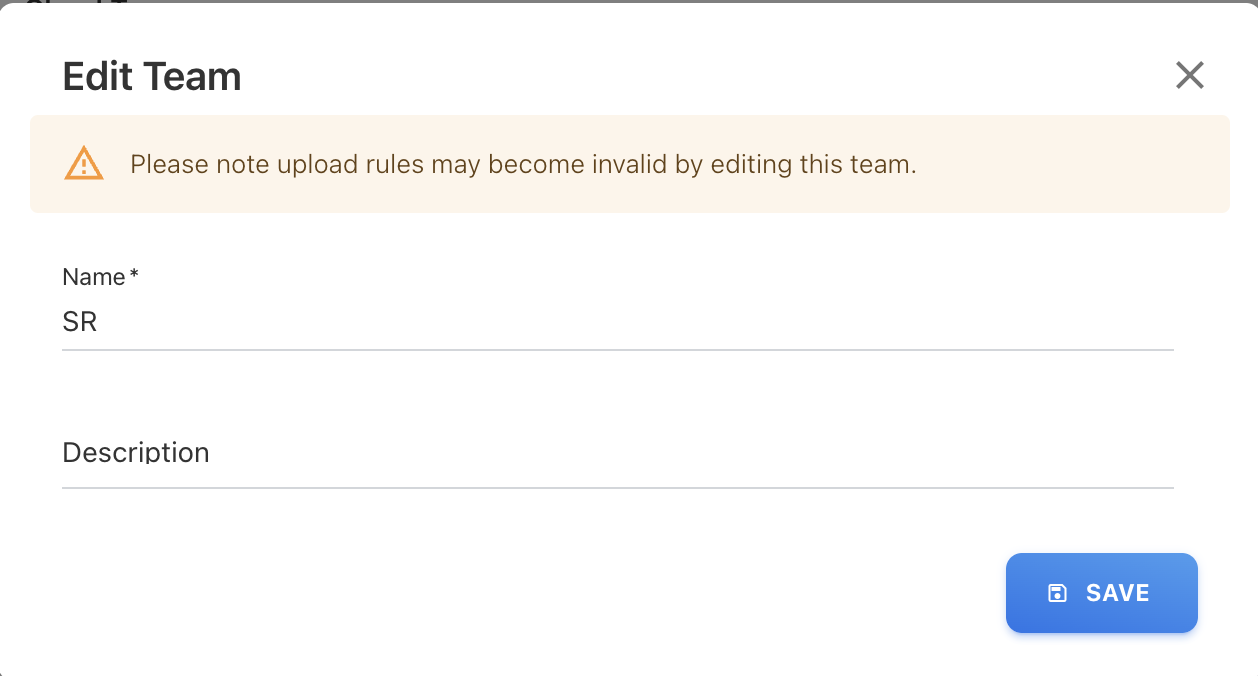
Here, the user can edit the team name and also description (if needed).
Managing the Members
When user clicks on Manage Members, the following popup will open up.
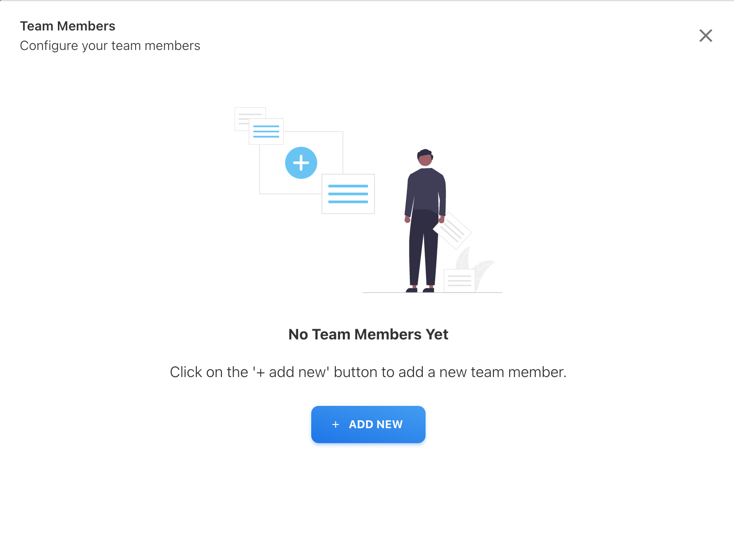
Here you can add or remove the team member, when clicked on the + ADD NEW the following popup will opened.
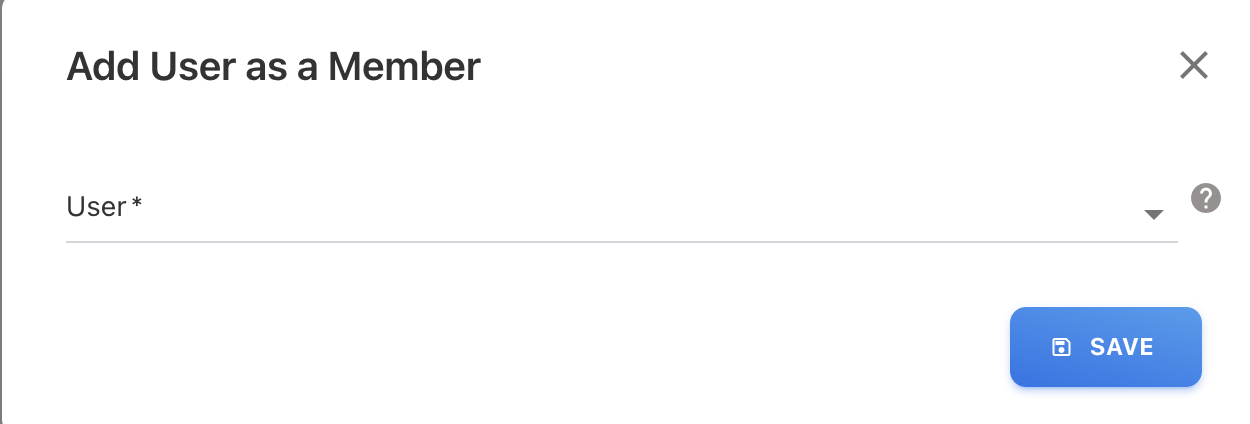
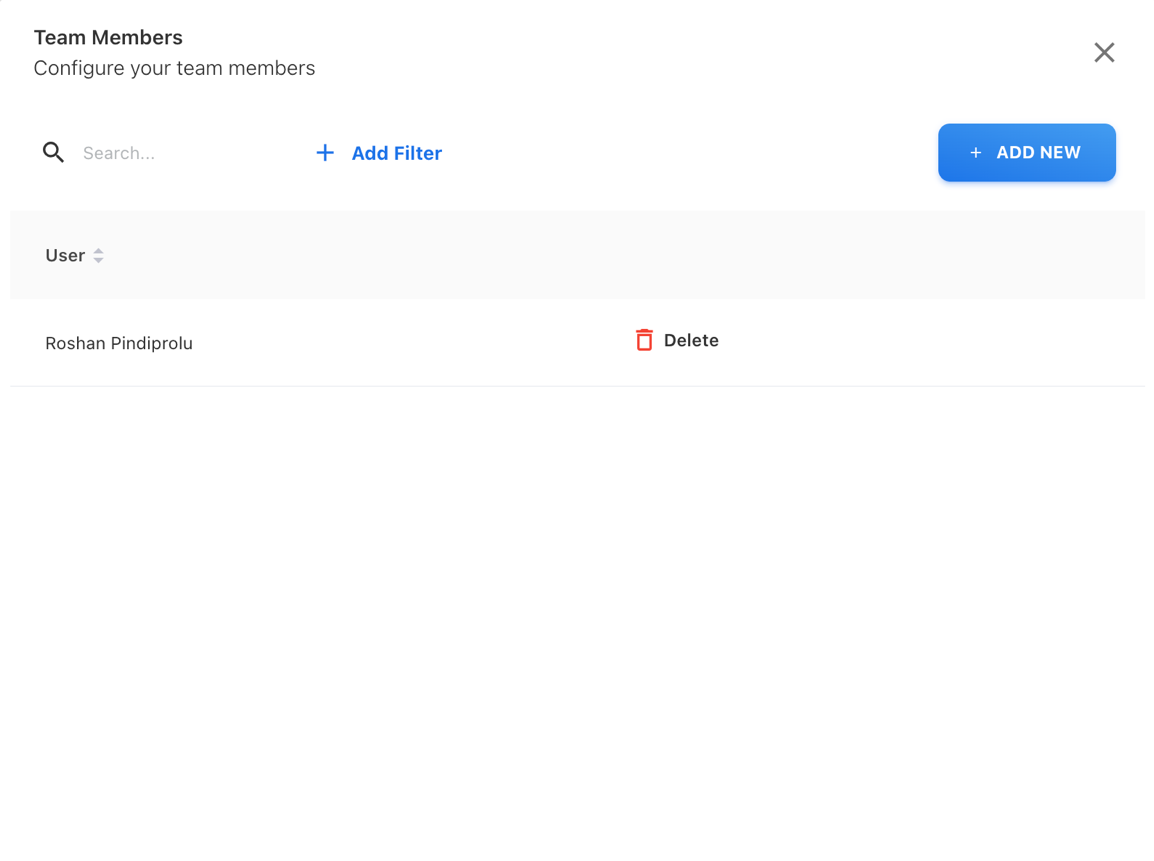
When clicked on the dropdown the users list will be shown, user have to choose from one of those user then click on Save, which will get back to the Team Member page, there user either add a new team member by clicking on + ADD NEW, or it user wants to delete the team member, it can be done by clicking on Delete button. Like in the following picture.
Deleting the Team
If the user wants to delete the team, it can be done by clicking on Delete, after clicking a conformation popup will open then click on ok. Note that if any dependy it will not get deleted, make sure that user have to delete the dependencies and then delete on this Teams Tab.
Adding Team Rule
For doing this, user have to go to Upload Rules tab, the following will show up
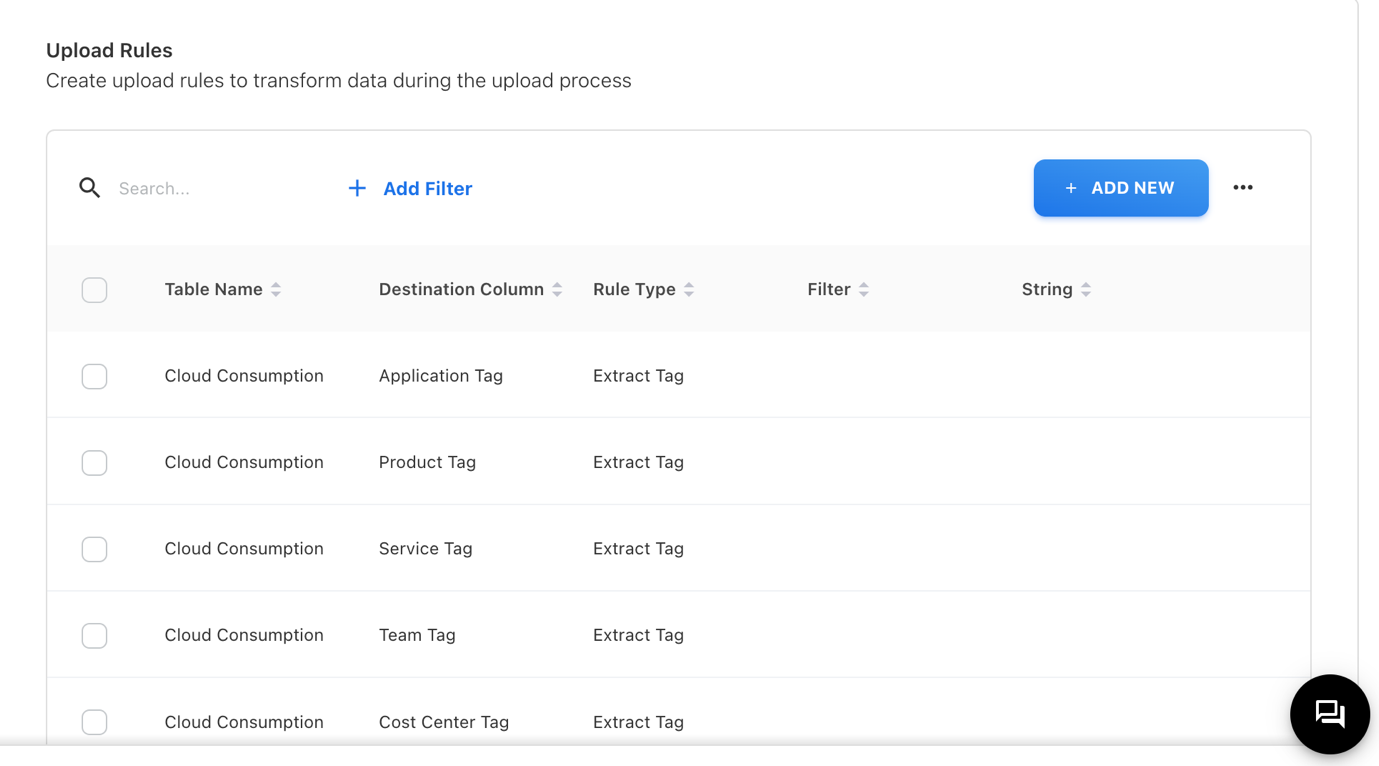
Click on + ADD NEW, where the following popup will open up.
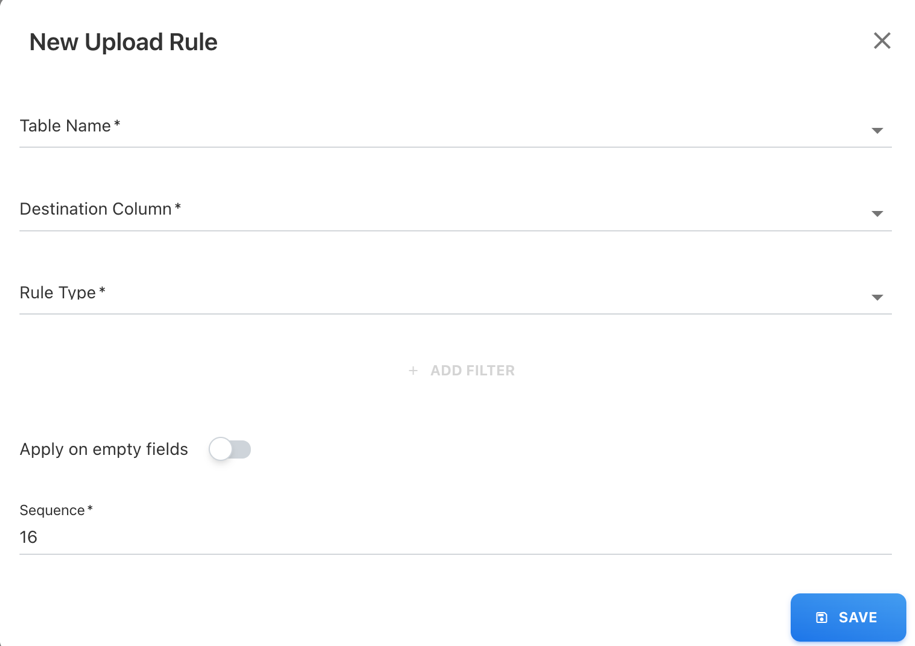
Here, we fill the details like follows the Table Name should be Cloud Consumption, Destination Column should be Team, Rule Type as Lookup, Lookup Table as Teams, Lookup Label as Name, Lookup Value as id, and Lookup Filter as per the user as here the team names will be displayed, and then click on Save.