
Introduction
This document is one of the many how-to guides that explain how to use or work on a specific feature within the YäRKEN application.
This document tells about how to create forecast.
Table of Contents
Methods for Forecasting Spend
There two ways to get to the page where we can create the Forecast spend. One by drilldowns, other by selecting from the subgroup under Forecast which is under Planning Drilldown menu.
To get into the Forecast, the user must hover on Planning in NavBar, note that this will shown only for admin, Budget Process Owner, and Budget Contributor.
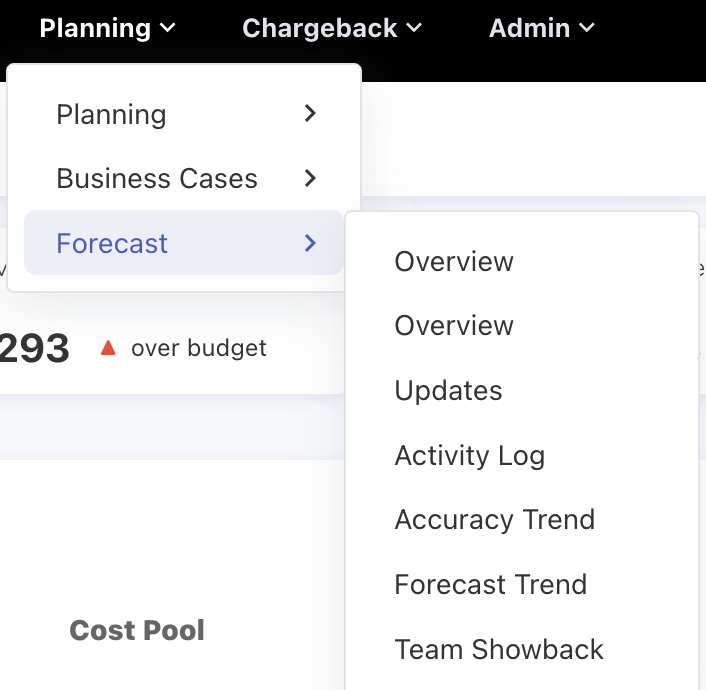
As shown above, the Forecast is under the Planning menu , so here is the catch to access the Forecast, the user must be either user or Cloud Engineer or Cloud Cost Owner.
Once gained access, the Forecast submenu will be visible where there is an option for Overview, if the user is admin, the user will be able to two Overviews option as shown I the picture above, one Overview is Cloud Cost Owner and admin, other for Cloud Engineer. Some like Updates, Team Showback is common for every user role be it admin, cloud engineer or cloud cost owner, other like Activity Logs and Accuracy Trend are visible for only admin and Cloud Cost Owner.
Method 1: Through Updates Page
As mentioned the user can update the forecast spend either from the drilldown or from the Updates, let’s dicuss by Updates submenu option
|
Planning >> Forecast >> Updates |
Once selected Updates, the following page will be opened
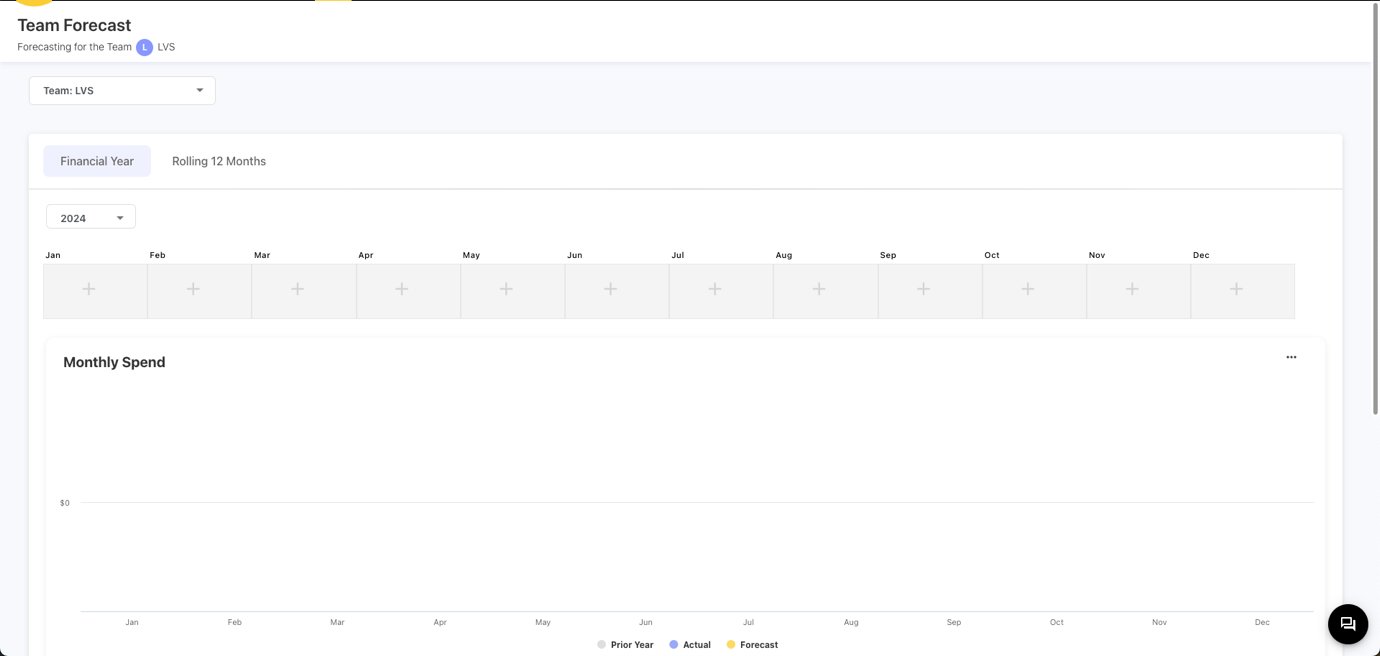
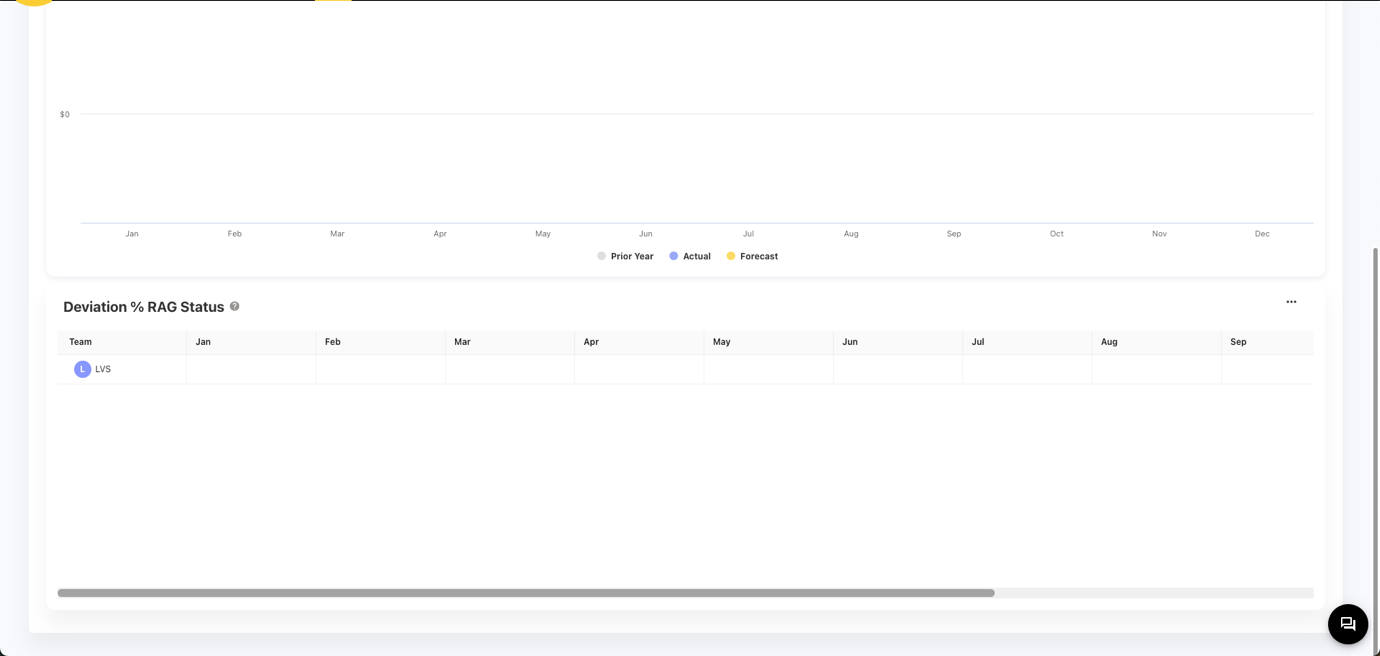
Here, there is a dropdown below the Pageheader where the user will be able to choose the team name. Once selected the team, the user wants to add the forecast spend, then select either Financial Year or Rolling 12 Months, if Financial Year is selected the the chart will be arranged according to the financial year.
Here, in the Financial Year, the month will be starting from Jan, but if the user wants to change it, it can be done by Going to Settings and changing the financial month, so the representation will be changed according to the month selected.
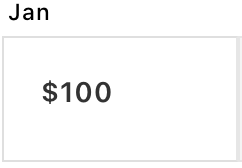
If Amount is not added
Now to add the Forecast Cost, user must click on the + symboled box before doing that select the year on the dropdown box above the + symboled box

Click on this so that a popup window will be opened as follows
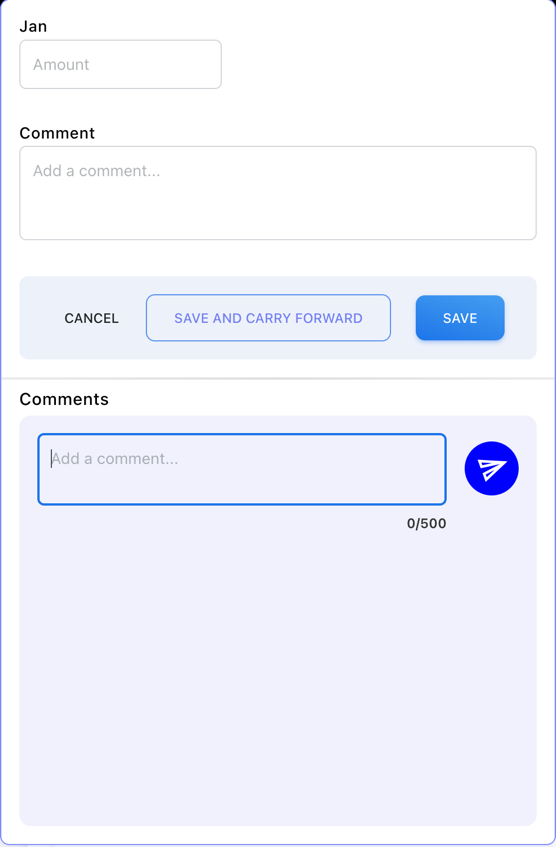
Adding the Amount
For adding the amount , the user have to add the amount in the field below the Amount.
Commenting
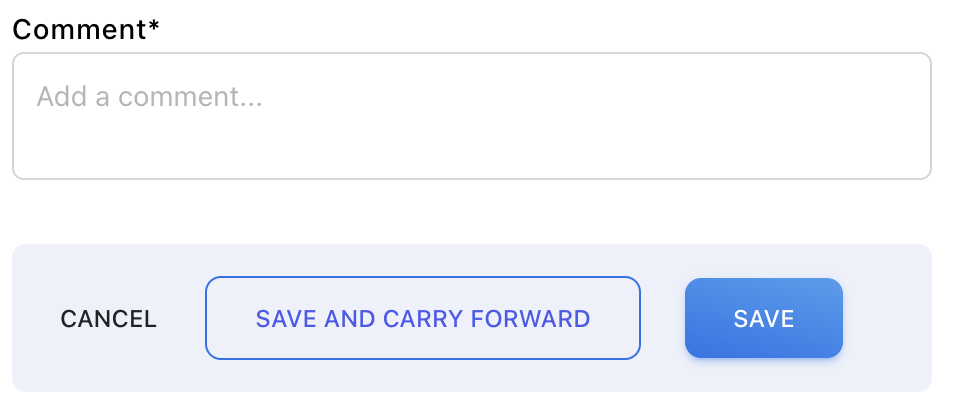
After adding amount, user have to mandatorly add a comment
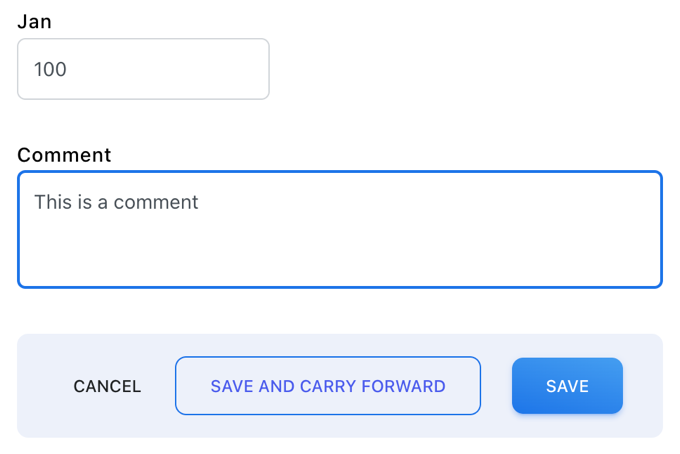
Save
After adding both amount you can either click on Save or click on Save and Carry Forward. If the user clicks on Save, the mount will be saved for that month.
Save and Carry Forward
After adding both amount you can either click on Save or click on Save and Carry Forward. If the user clicks on Save and Carry Forward, the mount will be saved for that month and also the amount will be carried forward to other month.

If Amount is already there
If the amount is already there the user can update the forecast amount, now the the mount will be showing as follows
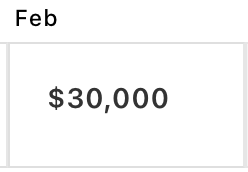
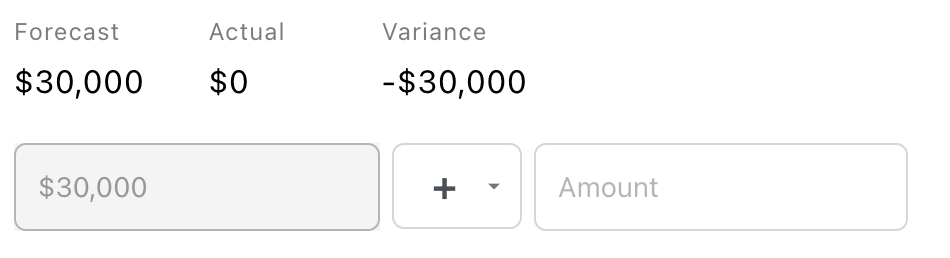
Here, once clicked on the amount or the box shown above another type of popup appear as shown below
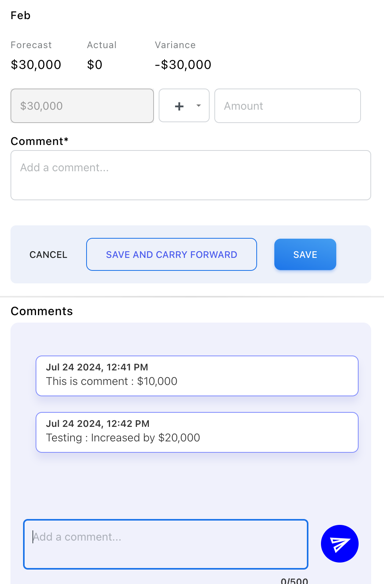
Here, there is an option to either increase or decrease the value of the amount. In this picture, the user have to choose “+” or “-“ for addition or subtraction of the amount user is going to add the amount beside those operation symbol. Also the Forecast Spend, Actual spend and Variance value showing
And then on compulsion add a comment to either save or save and carry forward
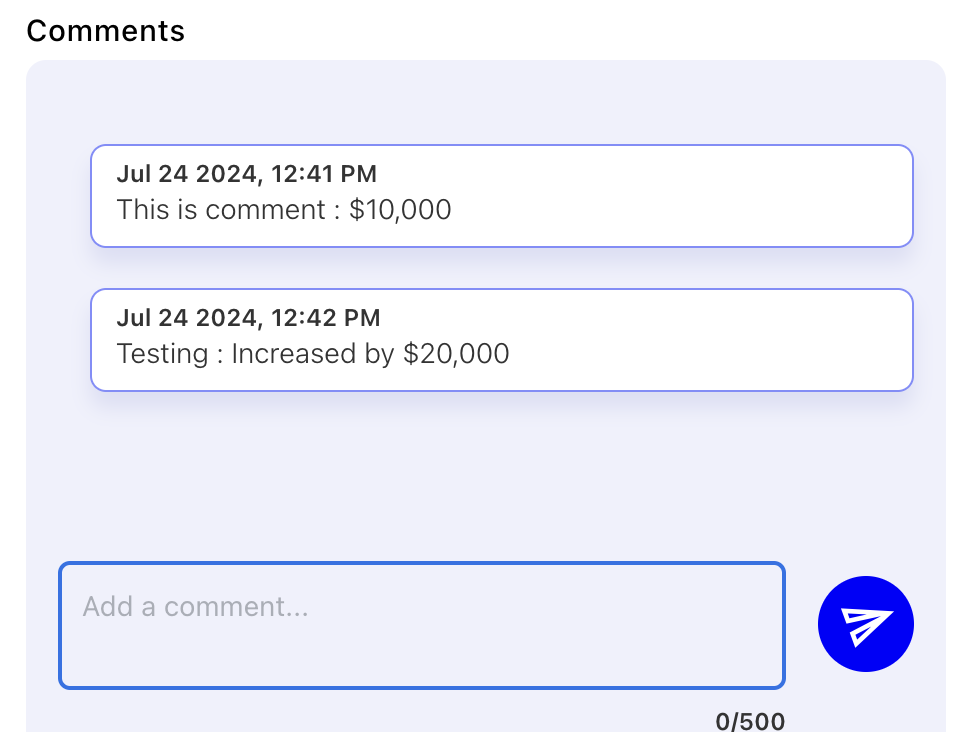
Also if the user wants to send a comment it can be done as shown in the picture below
Method 2: Through Drilldowns
If the user wants to the forecast spend it can also be done by drilling down to reports from the Overview Dashboards
For Admin and Cloud Owner, Overview Dashboard
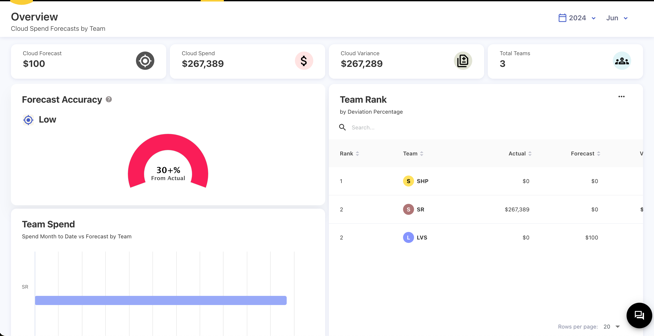
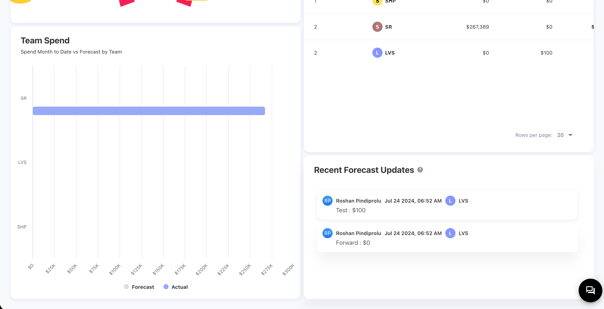
For adding the forecast spend, user can either drill from Team Rank and Team Spend and again the same Update page will be opened where the user can do the same as explained above in method 1 through update page.